Using Asset and Location Fields
CloudKit provides field types specifically for storing large data files and for fetching records by location. Use these data types to leverage the performance improvements that CloudKit provides for this type of data. You can also fetch records by location. For example, display records on a map in a user-defined region.
Store Large Files in CloudKit
You can store large data files in CloudKit using the Asset field type. Assets are owned by the associated record, and CloudKit handles garbage collection for you. CloudKit also efficiently uploads and downloads assets.
In code, the Asset field type is represented by a CKAsset object. This code fragment sets an Asset field in an Artwork record to a resource file.
// Create a URL to the local file |
NSURL *resourceURL = [NSURL fileURLWithPath:@"…"]; |
if (resourceURL){ |
CKAsset *asset = [[CKAsset alloc] initWithFileURL:resourceURL]; |
artworkRecord[@"image"] = asset; |
} |
When the record is saved, the file is uploaded to iCloud.
Add similar code that saves a record type with an Asset field to your app and run it. To save the record, read Maintaining a Local Cache of CloudKit Records.
Verify Your Steps
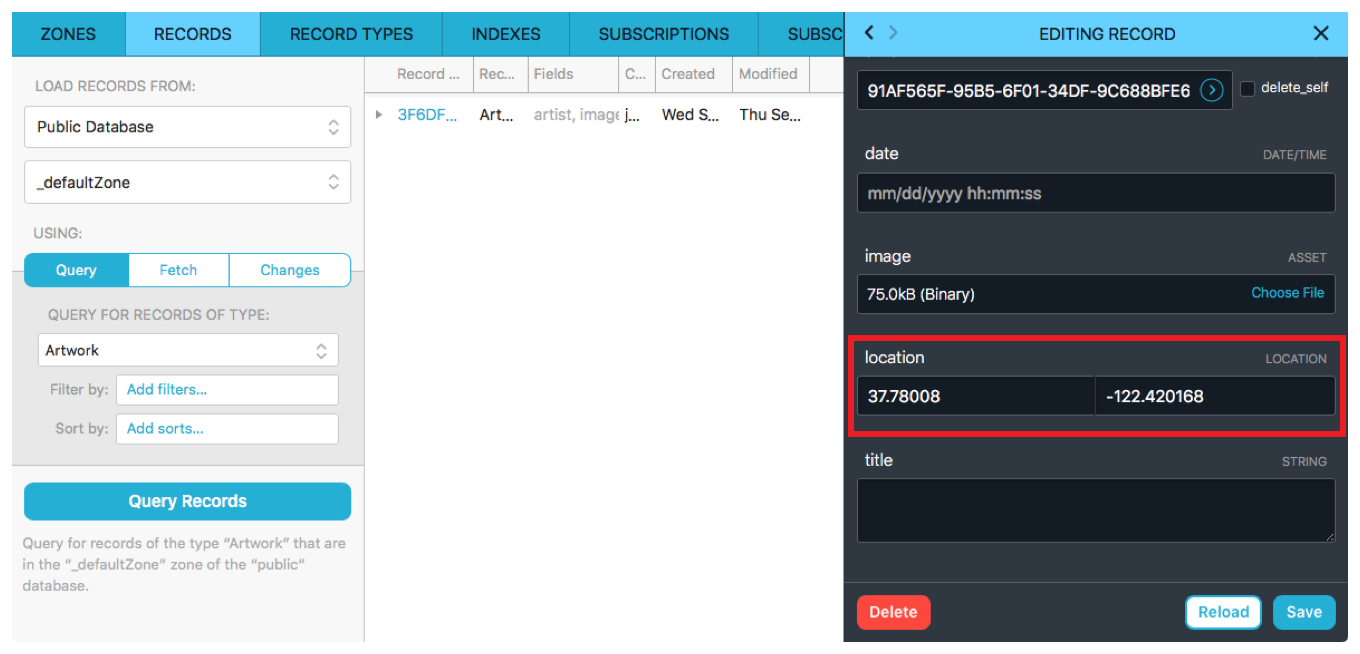
To verify that your changes to the schema and records were saved to iCloud, read The General Workflow and Fetching Changes. When you view records with an Asset object, CloudKit Dashboard displays the size of the binary data.

Add Location Fields
If your record has an address or other location data, you can save it as a CLLocation object in the record and later fetch records by location. For example, your app might display pins representing the records on a map.
This code fragment uses the CLGeocoder class to convert a string address to a location object and stores it in a record.
CLGeocoder *geocoder = [CLGeocoder new]; |
[geocoder geocodeAddressString:artwork[kArtworkAddressKey] completionHandler:^(NSArray *placemark, NSError *error){ |
if (!error) { |
if (placemark.count > 0){ |
CLPlacemark *placement = placemark[0]; |
artworkRecord[kArtworkLocationKey] = placement.location; |
} |
} |
else { |
// insert error handling here |
} |
// Save the record to the database |
}]; |
Add similar code that saves a record type with an Location field to your app and run it. To save the record, read Maintaining a Local Cache of CloudKit Records.
Verify Your Steps
When you view records in CloudKit Dashboard, it displays the longitude and latitude of the location field.
Fetch Records by Location
Once you have location data in your database, you can fetch records by location using a query containing a record type, a predicate, and a sort descriptor. The Location field specified in the predicate must be indexed for the fetch to succeed.
This code fragment fetches all records whose locations are within 100,000 meters of San Francisco.
// Get the public database object |
CKDatabase *publicDatabase = [[CKContainer defaultContainer] publicCloudDatabase]; |
// Create a predicate to retrieve records within a radius of the user's location |
CLLocation *fixedLocation = [[CLLocation alloc] initWithLatitude:37.7749300 longitude:-122.4194200]; |
CGFloat radius = 100000; // meters |
NSPredicate *predicate = [NSPredicate predicateWithFormat:@"distanceToLocation:fromLocation:(location, %@) < %f", fixedLocation, radius]; |
// Create a query using the predicate |
CKQuery *query = [[CKQuery alloc] initWithRecordType:@"Artwork" predicate:predicate]; |
// Execute the query |
[publicDatabase performQuery:query inZoneWithID:nil completionHandler:^(NSArray *results, NSError *error) { |
if (error) { |
// Error handling for failed fetch from public database |
} |
else { |
// Display the fetched records |
} |
}]; |
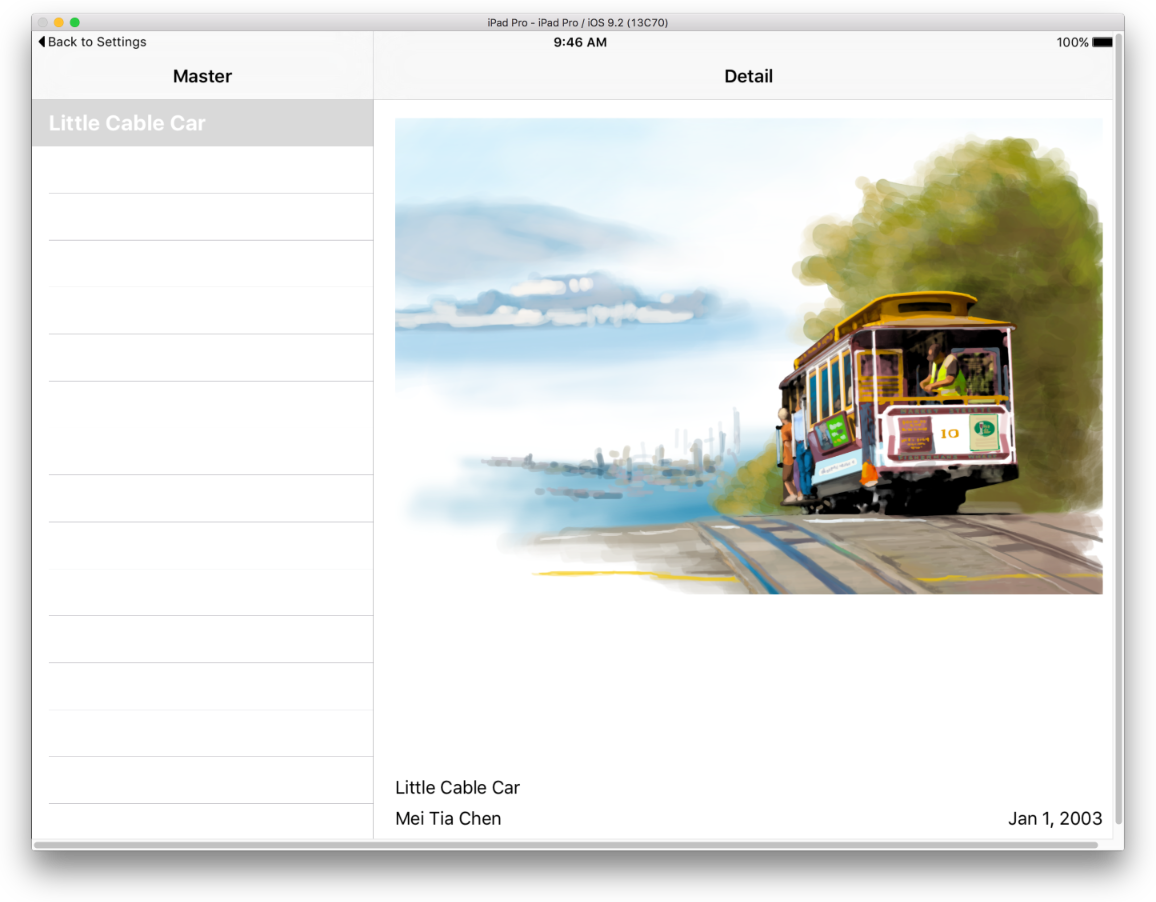
In this iOS app, artwork within the specified radius of a fixed location is fetched.
To learn more about locations and maps, read Location and Maps Programming Guide.
Recap
In this chapter you learned how to:
Add an
Assettype to a record type by adding aCKAssetfield to a record and saving the recordAdd a
Locationtype to a record type using aCLLocationobjectFetch objects by location
Copyright © 2017 Apple Inc. All Rights Reserved. Terms of Use | Privacy Policy | Updated: 2017-09-19