Managing and Extending the Print Panel
An NSPrintPanel object creates and displays a Print panel that allows the user to modify the current print settings, such as a page range and the number copies to print. Running a print operation causes the Print panel to appear. You can prevent the panel from show by supplying No to the setShowsPrintPanel: method. (Print operations that create PDF or EPS data never display the Print panel.)
Suppressing the Print Panel
By default, an NSPrintOperation object object displays a Print panel allowing the user to select printing options, such as number of copies to print and range of pages to print. After the user chooses options for the first time, you might want to offer the user the ability to bypass the Print panel and print immediately using the previous print settings.
You can suppress the display of the Print panel by sending setShowsPrintPanel: with a NO argument to the NSPrintOperation object before running the operation.
However, make sure that any non-default settings in the NSPrintPanel object that would normally be selected from an NSPrintPanel object are set to reasonable values—a copy of an NSPrintPanel object used in a previous print job will have the correct values, as shown in Listing 5-1.
Listing 5-1 Ensuring the print panel object has reasonable values
// Invoked in response to the standard "Print..." menu command |
- (void)print:(id)sender { |
NSPrintOperation *op = [NSPrintOperation printOperationWithView:self |
printInfo:[self printInfo]]; |
if ( [op runOperation] ) |
[self setPrintInfo:[op printInfo]]; |
} |
// Invoked in response to a custom "Print Now" menu command |
- (void)printWithNoPanel:(id)sender { |
NSPrintOperation *op; |
op = [NSPrintOperation printOperationWithView:self |
printInfo:[self printInfo]]; |
[op setShowsPrintPanel:NO]; |
[op runOperation]; |
} |
Modifying the Print Panel
By default, an NSPrintOperation object displays a standard Print panel. If you need to add some app-specific options, you can add an accessory view. You have the option of loading the accessory view from a nib file or creating it programmatically.
To add a custom accessory view to the standard Print panel, follow these steps:
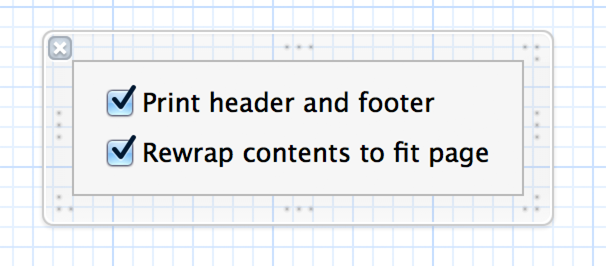
Use Interface Builder in Xcode to create an accessory view, placing controls that correspond to your app-specific print settings. (For example, see Figure 5-1.)
The accessory view displays when the user chooses your app’s name in the pane-selection pop-up menu in the Print panel. The panel automatically resizes in the vertical direction to accommodate the view you add. If your view is too wide, the content will be clipped. If possible, you should make your accessory view the same size as the standard views in the panel
Subclass
NSViewControllerto create a print panel accessory view controller.Implement the required protocol method
localizedSummaryItems.(Optional) Implement
keyPathsForValuesAffectingPreview.Get the print panel associated with the print operation.
Call the
addAccessoryController:method to add the accessory view to the print panel.Run the print operation to trigger showing the Print panel
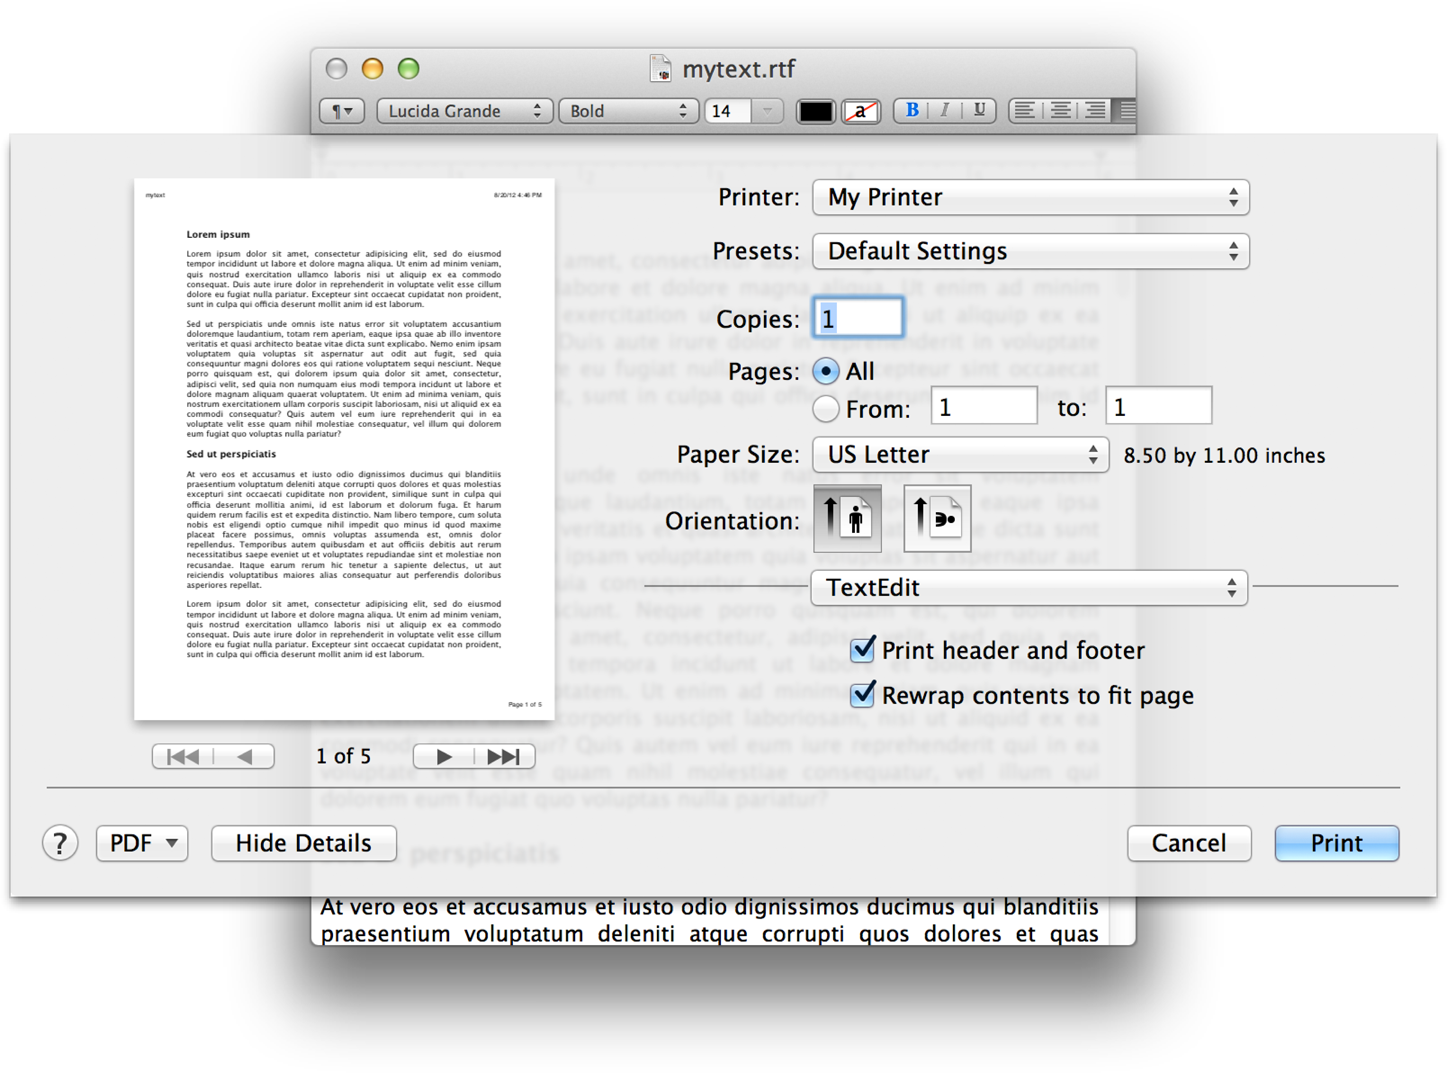
When you run a print operation, your accessory view is available for viewing in the Print panel. Figure 5-2 shows the accessory view for the TextEdit sample code project. Figure 5-1 shows the view as it appears in Interface Builder.
If you need to make more extensive changes to the Print panel, you can subclass NSPrintPanel. You tell NSPrintOperation to use your custom subclass instead of the default panel using its setPrintPanel: method.
- (void)print:(id)sender { |
NSPrintOperation *op; |
MyPrintPanel *myPanel = [[MyPrintPanel alloc] init]; |
op = [NSPrintOperation printOperationWithView:self]; |
[op setPrintPanel:myPanel]; |
[op runOperation]; |
[myPanel release]; |
} |
Copyright © 2002, 2012 Apple Inc. All Rights Reserved. Terms of Use | Privacy Policy | Updated: 2012-12-20