 Table of Contents
  Previous Section
Building and Running Your Application
- Make Project Builder active. A quick way to do this from WebObjects Builder is to choose View Source File from the pull-down menu at the bottom of the window.
- Click
 in the toolbar to open the Project Build panel.
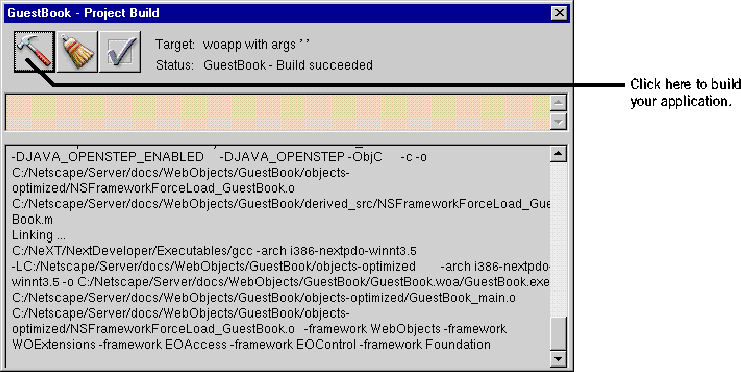
- Click
 in the Project Build panel.
- Close the panel.
- Click
 in the toolbar to open the Launch panel.
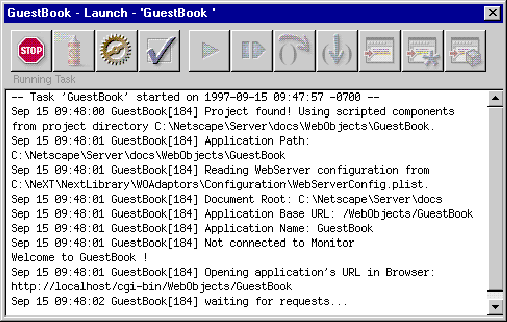
- Click
 in the Launch panel to launch your application.
- Launch your web browser and load a URL with the following form:
- Test your application by entering information and submitting the form.
To build and launch your application, you use buttons in Project Builder's toolbar.

The Project Build panel displays the commands that are being executed to build your project. If all goes well, it displays the status message "Build succeeded."
The Launch Panel displays a series of messages. If all goes well, you should see messages such as the following, which mean that your application is running successfully.

Your web browser (such as Netscape Navigator or Internet Explorer) should launch automatically and load the correct URL for your application. If it doesn't, do the next step; otherwise, proceed to step 8.
http://web_server_host/cgi-bin_directory/adaptor/application_directory
Your application directory is GuestBook, which was created by Project Builder under the WebObjects subdirectory of your server's document root when you first created the project. The default adaptor name is WebObjects (see Serving WebObjects for more information about WebObjects adaptors). So if, for example, your web server is named gandhi and its cgi-bin directory is named cgi-bin, you would use this URL:
http://gandhi/cgi-bin/WebObjects/GuestBook
If all goes well, your page should look like the one shown at the beginning of this chapter.