-
Spatial Audio workflows for Apple Immersive Video
Follow a step-by-step walkthrough of Spatial Audio workflows designed for Apple Immersive Video. Topics include capturing ambisonic beds and close-miked sources, building layers during sound editorial, and mixing directly in headphones to ensure accurate spatial alignment. The session highlights why reviewing mixes on Apple Vision Pro is essential for maintaining immersion.
This session was originally presented as part of the Meet with Apple activity “Create immersive media experiences for visionOS - Day 2.” Watch the full video for more insights and related sessions.리소스
관련 비디오
Meet with Apple
-
비디오 검색…
Hello everybody, and welcome to the other half of film production. That usually gets about 10% of the attention and 0% of the glory. Audio. I'm Alex and I am the audio lead on the Apple Immersive video post-production team.
As you can probably guess, I'm a huge Spatial Audio nerd and I hope that by the time I'm done with you, you will be too. But first, why should you use Spatial Audio? Why not just do stereo or maybe 5.1 and call it good and move on with your life instead of telling you? Let me actually show you. You're going to hear a brief soundscape here and you're going to hear it twice. First, here it is just in stereo.
All right. That was pretty cool. But you could probably tell it was all just sort of, like stuffed right into the front. So let's do this again. But this time you're going to hear it from all the speakers in the room. So not just in front of you, but also to the sides, behind you and even above you.
Cool. I hope you agree that the second version was probably a lot more immersive and really pulled you into the scene. If not, that would be a problem. But yeah.
All right. And the reason this is, is because Spatial Audio builds immersion. I'm obviously biased, but I think it's one of the best ways to place the audience into your world. Now, imagine being able to do this on your own projects without any of these fancy speakers, just with a pair of headphones with binaural audio and the power of Apple Spatial Audio. You can do that. And it's something that I'm really, really excited about because it finally makes spatial audio accessible to everybody. Creators like you only need a pair of professional headphones for obvious reasons. I'm partial to AirPods Max. Consumers can also use headphones or even just the built in speakers on Apple Vision Pro. All right, so with the sales page out of the way now, how do we actually do it? Let's take a bird's eye view of our workflow. Our journey begins with acquisition, meaning recording audio on set. From there we travel to post specifically sound editorial. This is where you assemble and layer all of your sound elements. And finally, there's the spatial mix where all the sonic elements come together. So let's start with acquisition. As Austin mentioned, it really pays off to record Ambisonics spatial audio from the camera's perspective, particularly in documentary style filmmaking. It will capture your entire sonic environment with the right spatial position and perspective matching the camera that can provide a bed, a sort of spatial glue of sorts that will provide the foundation, on top of which you can then layer additional sonic elements.
If you're familiar with the Apple Immersive Wildlife series, the team actually did a really, really fantastic job recording great spatial audio. If you go back and listen to any of these episodes again, you'll hear these recordings on almost every shot.
Here's production sound mixer Doug shoving a microphone in an elephant's face. And what may not be readily apparent is that is actually an ambisonic microphone. Later in post, you can still decide to just use one channel if you want to, but that way you have options in post. Now, when you think of spatial microphones, you may be picturing bulky and sort of weird, strange looking microarrays that are gigantic and that you're going to have to schlep around your set. The good news is that's not the case at all. There's a great variety of good ambisonic microphones on the market, all with a similar form factor to regular shotgun microphones. And these microphones are really just a sampling of what's currently on the market. So the good news is you really have options. So choose what's best for your needs and budget. All right. Great. So we set up our spatial mics. We're capturing everything exactly the way we want to. So we're done with acquisition. Time to move on to sound editorial. Except we're not quite done. Mono recordings still matter. There's a sort of preconceived notion that with spatial audio, you just set up your mics and everything will sound lovely and crisp and exactly how you want it. Unfortunately, that is not entirely true. So the idea here is not for your spatial recordings to replace tried and true mono production sound techniques, but rather to augment them.
So if you have any dialog in your scene, record it as individual close mono sources in addition to spatial. For immersive, that will usually usually mean that you have to prioritize individual mics like the one I have right here. Since it may be hard to hide a boom outside the frame due to the wide field of view.
Between your mono and spatial sources, you now have the best of both worlds. Your mono sources will give you rich definition, clarity and detail, while the spatial recordings will fill in the gaps of mono by providing sonic depth and perspective. All right, now we're actually done with sound editorial with acquisition, I promise. Let's move on to sound editorial. This is where you assemble and layer all of your dialog, your sound effects, and your music. Conceptually, this step is fairly similar to standard post-production. If you're already doing your picture editorial in resolve, you can stay within the ecosystem and just switch over to the Fairlight tab. Apple Spatial Audio is deeply integrated into Fairlight, so you can do your entire sound edit and mix directly in Fairlight and one shameless plug here. We will have a Fairlight workshop later today, so please join us if you want to learn more.
If you're more familiar with Pro Tools, that's okay too. As Deep mentioned, you can also download and use the Apple Spatial Audio plugin suite to edit and mix directly in ProTools.
So what does my own sound editorial workflow look like? The first thing I always do when I start sound editorial on a new project is to make sure that I have all my puzzle pieces ready. What I mean by that is your production team will have hopefully recorded a lot of great sound sources for you, from multiple spatial mics to individual mono ISOs. So make sure you actually compile and assemble all of these sources, because your picture editor may not have used them with everything assembled. Now you can build your soundscape by editing and layering your dialog, your sound effects and music as you do so. Remember that immersion is in the details. In particular, use Foley and Ambiances to build immersion. For those of you not familiar with Foley. Foley are essentially sound effects that are performed and recorded live to picture. They usually focus on the small, everyday sounds that usually would go unnoticed, so things such as a character's footstep, the sound of their clothing as they move, any props they may be interacting with, or even the sound of leaves rustling as an animal emerges out of the forest. So let's take a look at a short clip from another wildlife episode. You will see and hear the same clip twice. Now you're hearing it right now. This is just production sound.
Okay, so you heard more or less everything is there, but it felt maybe a little bit puny, a little thin, especially. Remember right now you're watching this in a movie theater, but ideally you'll be watching this in Vision Pro, so you'd be fully immersed. Our hero would be right in front of you, so it feels a little bit thin. Also, if you listen closely, you may have heard Austin actually breathe from right over there. That's something that happens a lot with Spatial Audio. Get used to that.
So let's listen to it again. But this time with the same production sound, but now also with Foley and Ambiances layered on top of it.
All right, so I hope you agree that this felt a lot fuller. You could actually hear what our main character was doing. And you also felt hopefully again, a lot more in the scene through the use of additional ambiances to sort of pull you into the world.
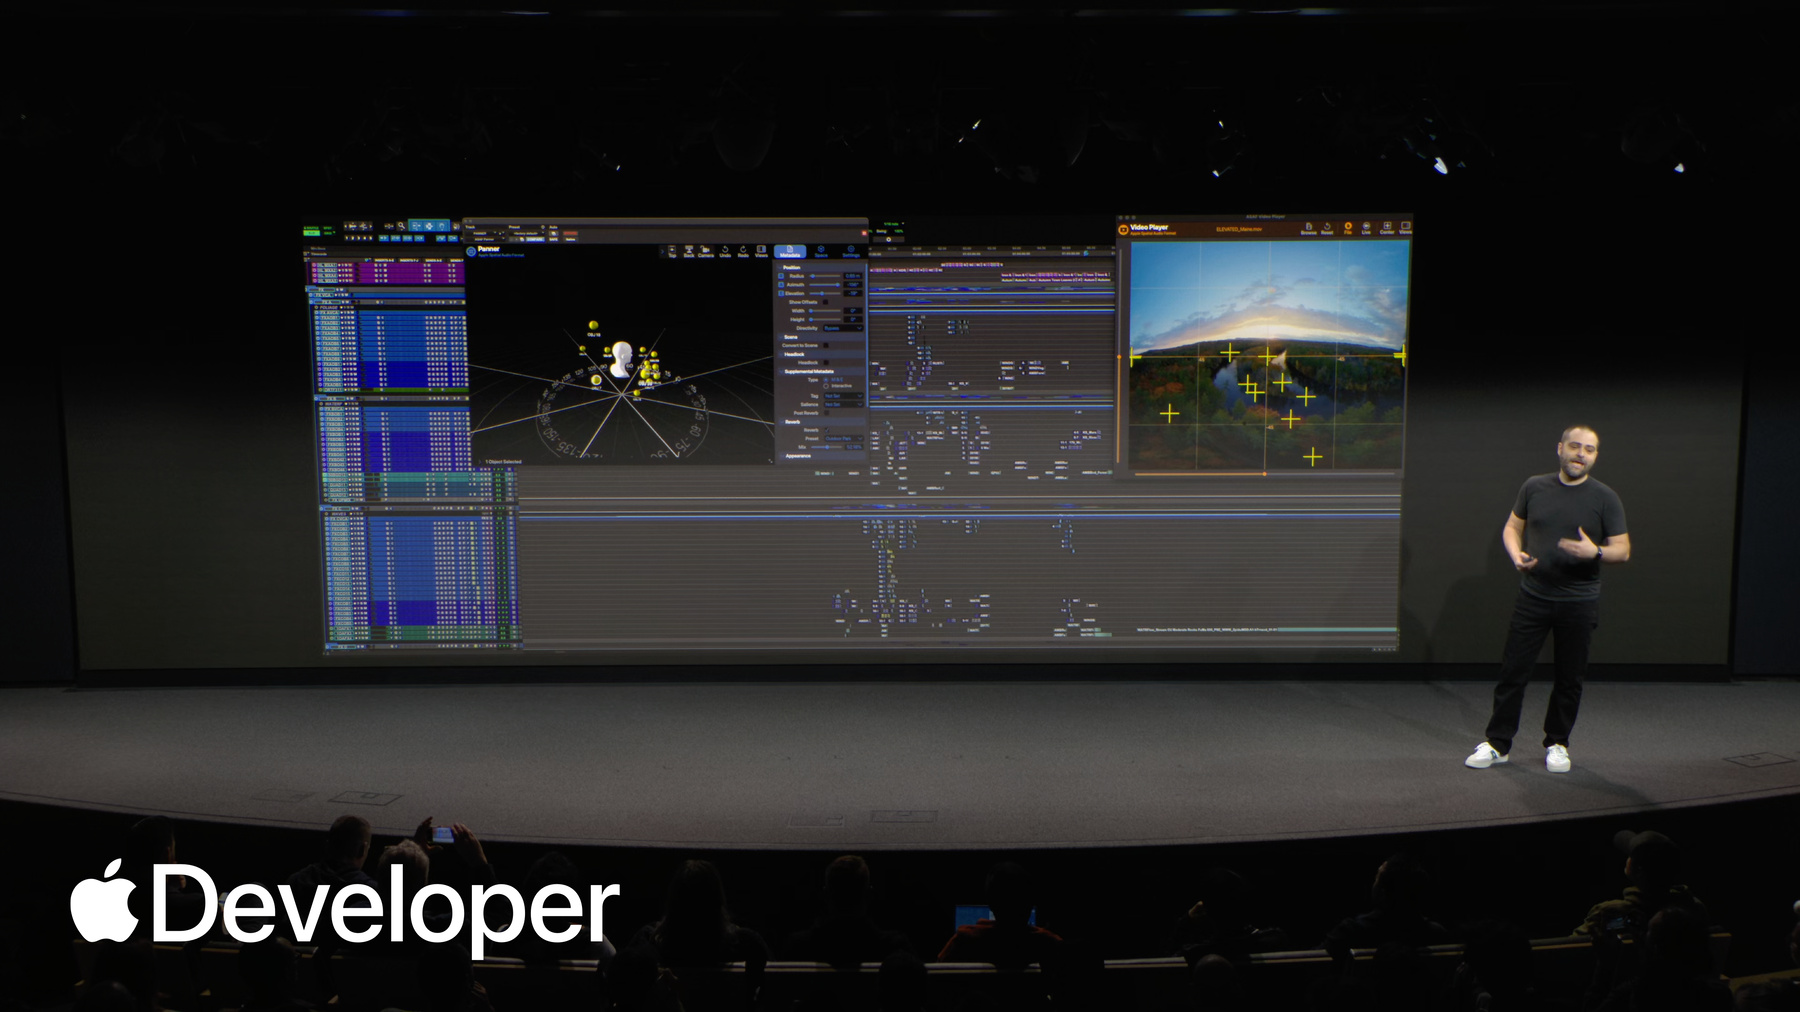
All right, so now that we've layered our Ambiances and Foley, we need to mix everything. So it's time for the spatial mix. This is where hopefully all your hard work and sound editorial will really pay off. Here you combine all of your sonic ingredients and mix them together. Most importantly, this is where you spatialize all of your sound sources. So far, our workflow has been fairly similar to 2D, but here we really depart from traditional workflows. If you're familiar with regular 2D workflows, you know that a lot of your mix will live in a center channel behind the screen. It's basically the central anchor that ties your sound to the flat picture screen. In immersive, be careful with that. Remember that the audience is no longer looking at a flat screen in front of you. They are inside your scene. Because of that, they expect spatial cues to work, like in real life. There is no notion of a center channel anymore. Sounds are supposed to emanate from the location of their corresponding visuals. So instead, anchor all of your sounds to visual elements using Apple Spatial Audio. In practice, that may look like this. I have an excerpt here from the Arctic Surfing Boundless episode. This is probably the kind of frame you're used to seeing. It's just regular lens space. But for this demo, we're actually going to work with a slightly different visual representation. Here's the same frame unwrapped to what we call equirectangular. This allows us to place sounds not just onto the actual picture, but also behind us by playing, by placing it on either side of the frame in those black sections. More on that in our workshop. So for this demonstration, I pulled out just all the sound effects of the ocean and a little bit of wind. I think those three blue cross hairs you can see there. But each of these crosshairs that you see on screen here is the location of one spatial object. So watches these objects move in tandem with picture.
So we see even the wind is moving a little bit there on the left. And then for this shot watch what happens right here as the wave passes us and then even goes behind us. Then all the sounds of the waves are converging again, moving again. And one more time, every single tiny little crosshair you see, there is one part of the wave that moves along the screen. And then as we get closer, we put a little bit more behind us for even more immersion.
And finally, remember that this is a binaural medium. Your audience will experience your mics either through headphones or through the two speakers on Apple Vision Pro. So make sure that you actually mix on headphones and not just on speakers. It's the only way to make sure that your mix actually translates not just with regards to perspective, but also dynamic range in the same vein. Make sure to regularly review your work on Apple Vision Pro. It's a theme you're going to hear a lot today. It's the only way to accurately judge distance, perspective, and the positioning of your sounds. And with that, we've made it to the end of our workflow and our project is done. So what have we learned? First, make sure you record both mono and spatial on set. Second, use Foley and Ambiances to build on top of your spatial recordings and to heighten immersion anchor sounds to visuals instead of just plopping them in the center. Mix on headphones. Review on Apple Vision Pro. And finally, have fun and experiment. Thank you very much.
-