-
Bringing Cyberpunk 2077 to Mac
Go behind the scenes and learn from CD PROJEKT RED how Cyberpunk 2077 came to Mac, setting a new standard for AAA gaming on macOS. Explore how the team leveraged Apple's robust hardware, software, and development tools to bring this high-fidelity experience to life. Learn how you can apply similar techniques to your games. Find out how the innovative ‘For this Mac' preset automatically optimizes graphical settings to balance visual fidelity and frame rate across the Mac lineup.
Chapters
- 0:00 - Introduction
- 0:44 - What is Cyberpunk 2077
- 2:57 - Why bring it to Mac
- 3:45 - How we brought it to Mac
- 4:50 - Game Porting Toolkit evaluation
- 13:05 - What we did to stand out
- 13:16 - "For this Mac" preset
- 26:59 - Next steps
Resources
- Performing your own tone mapping
- Personalizing spatial audio in your app
- Download the Game Porting Toolkit
Related Videos
WWDC26
-
Search this video…
Hello, welcome! My name is Garrett Austin. I'm an engineer on Apple's Game Performance team. Today I'll be joined by a special guest, Paweł Sasko, Associate Game Director at CD PROJEKT RED. Paweł is here to talk about Cyberpunk 2077: Ultimate Edition, an incredible achievement on Mac. It takes advantage of unique platform features and delivers great performance across a wide range of Mac devices. Now, I'll leave it to Paweł to tell us all about how it was brought to life on Mac, and how they made it stand out. Paweł? Thanks, my choom! I'm going to share more with you about the experience of bringing Cyberpunk 2077 to Mac.
I'll start with an overview of Cyberpunk 2077 itself, explore how we approached the Mac development process, and finally, share the finishing touches and flourishes that made Cyberpunk 2077 stand out on Mac. So, what is Cyberpunk 2077? It's an open world RPG where you play as V, a cyberpunk mercenary operating in Night City. Players explore the city and its surroundings, meet characters, build relationships, and make a lot of decisions, some of which lead to unforeseen consequences. This is a beast of a game, a massive world, no loading screens, and a lot of data to constantly process. But, from the get go, the game was designed to be scaleable, to run on a variety of hardware, and this really helped us out when we brought it up on Mac. To this day Cyberpunk 2077 remains a benchmark that is used in the industry whenever new hardware comes out, and there are a few reasons for that. Night City is packed with moving parts, crowds, traffic, AI, physics, animation, quests, and systemic interactions all running in parallel. A lot of this pressure lands on the CPU.
Cyberpunk 2077 has mixed lighting everywhere, neon, signs, puddles, reflective surfaces, headlights, emissive lights, volumetrics, often all in the same scene.
It also supports advanced graphics modes like ray tracing and path tracing, which make the game much more demanding and scale strongly with GPU capability. You probably know that we've been regularly updating Cyberpunk 2077 since its release. We shipped the Ultimate Edition, introduced the Metro system, extended romances, vehicle customization and far more content to the game. So when we work on our game, we always try to make it relevant and fresh. Naturally, we were looking for other platforms where we can ship the game. So that brings us to the next question.
How did we decide to bring Cyberpunk 2077 to Mac, and why did it make sense to do it at this point? At CD PROJEKT RED, we have a pretty long history shipping on Apple platforms. We wanted to continue that. As Apple silicon developed, the hardware capabilities evolved far enough for us to bring a game on Cyberpunk's scale to the Mac, not only running it, but aiming at a serious quality level. With Apple silicon we were confident that we could deliver something we'd be comfortable putting our name on. And of course bringing the game to Mac is a chance to reach more players, which we are always happy to do.
Once we aligned on, "Yes, this is worth doing," the next question was, what does "doing it properly" mean for Cyberpunk 2077 on Mac? We set the quality bar for ourselves, and there are three main components to it.
Maintaining the visual fidelity and identity of the game was key. The look, the lighting, the materials, all of that is really tied to the very core of what Cyberpunk is. Another component is stable performance. It's really important to look at scenarios when we have heavy CPU and GPU usage, large crowds, screen space reflections, driving through dense areas, combat, and evaluate performance across heavy scenes and locations to make sure it all runs smoothly. And then last but not least, it's the finishing touches that make the experience feel native.
We always try to use the platform capabilities to their maximum. We wanted an experience that stands apart on macOS, with native features and behaviors that players love.
Before we started building the native path for Cyberpunk 2077 on Mac, we used Apple's Game Porting Toolkit to evaluate the Windows build in a translated environment on macOS. This let us gain valuable insight before writing any code.
Insights like, "Is bringing Cyberpunk 2077 to Mac feasible at the quality bar we set for ourselves?" "Where is the pressure likely to be, CPU, GPU, or any specific systems?" And, "What are the first real focus areas we should plan around?" The goal wasn't final performance numbers. It was information, where frame time goes, what are the performance challenges in real game play, and what we should build first once we move to native.
To make the evaluation data useful, we ran a predetermined set of hotspot sequences in the evaluation environment. For each test run, we looked at the data from three angles. Statistical frame time data, from our in-engine profiler so we could compare runs consistently. Metal HUD, to correlate what we're doing in the scene with what we see in the trace, loading, shader translation, or some known events such as saving the game. And, engine internal profiling broken down into threads, so we could see which CPU systems were active and when, to make sense of hotspots and spikes. Later, once we had a native build running, we moved to using Metal HUD as the primary frame time capture tool on Mac. This let us collect comparable measurements across many devices, and most importantly, do it on builds without debug or profiling settings enabled, allowing us to capture the most reliable data possible. Once we had that approach in place, the signals became pretty clear.
On high-spec hardware, GPU time looked healthy even this early, which actually pleasantly surprised us.
It was stable enough to serve as a baseline, and it suggested that we had a realistic path for our performance targets once the Metal rendering pipeline was native. In heavy game play, the experience was influenced by CPU pressure. For example, in a city driving scenario, we could see a best case where the GPU was the limiter, but a hotspot case where the CPU time rose sharply when the scene became dense with traffic, crowds, and action.
At this stage, we saw a couple of patterns that were evaluation environmental artifacts.
One was oscillation in frame time caused by live shader translation. The other was our audio middleware, which looked heavy in some scenarios. Both of these were resolved once we moved to native binaries, and Game Porting Toolkit identified them for us, so we knew to investigate it early during our native implementation. Once we had the signals, we could turn the evaluation into a production roadmap.
First was making Mac a real target: Native builds and libraries, and adjusted data pipelines.
Then we aimed for a playable build by bringing up the rendering and shader paths with the Metal API and Metal shader converter. Once that was in place, the rest was the fun part, making it shippable. Adding platform native features, then optimizing for performance and adding more polish.
There were three core parts to making Mac a real target in our pipeline. First, native builds on macOS. We needed Apple silicon builds produced with the macOS toolchain, not only the game executable, but also the development tools that we rely on in the process. Then, there's the data pipeline. Internally Cyberpunk 2077 had a full build pipeline set up for all the platforms we support, and we have added macOS as yet another parallel platform, following the same process. The platform-specific outputs, such as archives and shader cache, had to be generated following this already-existing pipeline.
Finally, the architecture bridge. The game and engine had years of assumptions from other CPU architectures, so at the beginning of the process, we validated what works with unit testing, and identified what changes were required to have it run well on Apple silicon. After this step, we could move on to the shader pipeline.
As soon as we had a basic Metal path that could display frames, Metal shader converter helped us get broad shader coverage quickly, so we could render meaningful scenes. In practice, we treated this process as a loop.
Integrate Metal shader converter into our shader build, so Metal shader output was generated as a part of normal builds.
Validate repeatable scenes, and look for differences in lighting response, materials, and post effects.
Refine the smaller set of advanced shaders or edge cases where the converted result didn't quite match what we expected. Then, repeat this process as part of the build and test pipeline.
In parallel to bringing shaders online with Metal shader converter, we were building out the native Metal rendering foundation. We started with unit tests, bringing the Metal backend up piece by piece, and checking the base output carefully before adding more complexity.
Once that base layer was solid, we moved on to stationary in-game scenes. That's where you can validate the parts unit tests don't cover very well, lighting stacks, post effects, and scene-level behavior. After that, we moved into dynamic scenes, where camera movement, streaming, and game play start to expose the real edge cases. When we implemented ray tracing and path tracing, we optimized the performance while validating that the visual output remained the same as other platforms to preserve the identity and look of the game.
Once the native Metal foundation was stable, our next challenge was scaling performance across different Macs, and this is where MetalFX Upscaling comes in as a solution. At a high level, MetalFX lets you render at a lower internal resolution and reconstruct a higher resolution output in less time. The practical benefit was quite straightforward. It gave us more performance headroom in the heavy scenes, without lowering the quality across the board.
We also used Dynamic Resolution Scaling to help maintain stable performance under load across a variety of Mac hardware. As a temporal upscaler, it helped the image hold together in motion, especially during fast traversal and VFX-heavy scenes. At that point, we had the full game on Mac, we had it running with a working build, it was rendering in a predictable way, and it was playable. From that point on, you really need to ask yourself, "Okay, now what actually makes it ready to ship?" For us, it's a few other components.
There's the default settings - how it looks when you launch the game for the first time. Then, how do we differentiate this version of the game with platform native features? And finally, polishing the game for a great overall experience.
It was time to take what we had built and turn it into a first-launch experience on Mac that really stood out.
We wanted to provide great performance on the first launch for every Mac. That's where the "For this Mac" preset comes in.
"For this Mac" is a device-based graphics preset system - it detects the hardware in your Mac and automatically configures the best settings for your device. Regardless of which supported Mac you have, you can launch the game and get a stable, enjoyable starting point right away.
Our process started with picking settings that maintain image fidelity for each supported Mac device. We set our target FPS to either 30 or 60, MetalFX was used with Dynamic Resolution Scaling, and we adjusted minimum and maximum resolution boundaries to hit the target FPS.
Unique to the "For this Mac" preset, we also adjusted video settings. This was where we set the final output resolution, which Dynamic Resolution Scaling operates within. We set VSync for proper frame pacing with our FPS target. We also enabled HDR, based on the display's capabilities. We then further tuned every setting in our game one-by-one, for each Mac, to make sure they were not only performant, but also beautiful.
When a player downloads the game and launches it for the first time, they can trust that it is optimized for their specific Mac. During our tuning process, what really helped us was using several consistent scenes that stressed the CPU, GPU, and streaming systems in different ways. Then, we collected performance data, refined our settings, and revalidated in a loop across the lineup, until we found the ideal settings for each Mac.
What's cool for us is since the release of Cyberpunk 2077 on Mac, we've seen that other developers are starting to adopt "For this Mac" settings in their games as well. We think that it's pretty healthy for the ecosystem, and it makes us really happy to see it. Now, let's take a look at "For this Mac" in the game.
Here is the "For this Mac" preset. For this MacBook Pro with M5 Max chip, I'm using the Ultra preset as a base.
From here, I can see the rest of the settings.
Starting with MetalFX Upscaling using Dynamic Resolution Scaling, targeting 60 frames per second, and rendering anywhere from 50 to 80% of the target output resolution.
Then I can go deeper into the settings, which were tweaked even more. We didn't require a lot of tweaks for M5 Max - it's quite a capable chip.
We also adjust video settings as part of the "For this Mac" preset. Here, it's targeting a 60 FPS lock with VSync.
Resolution upper bounds are set, and 2336x1460 is chosen for the internal display. Since the MacBook Pro's display is HDR capable, HDR defaults to on.
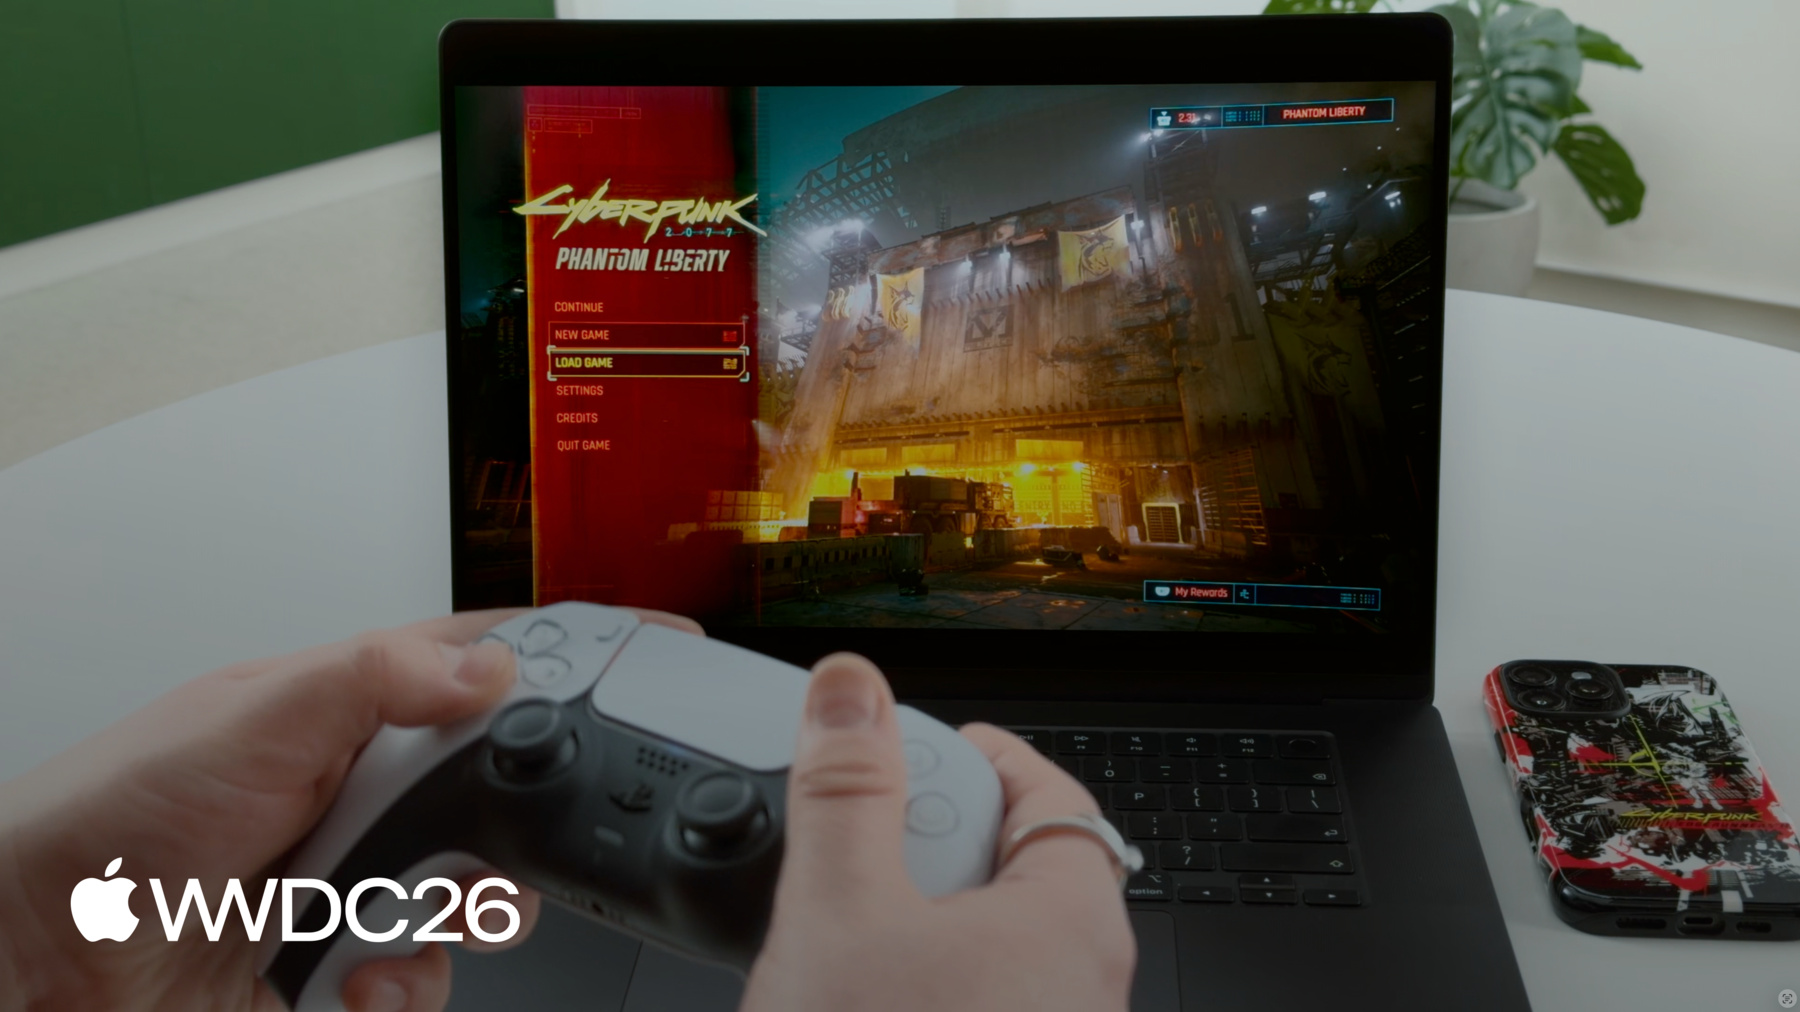
HDR is automatically calibrated using Apple's EDR APIs, players do not have to visit a calibration screen. It's a really great feature which I will talk about later. Now, I will load into one of the most taxing areas of the game. Yes, so this area is a part of Dogtown.
If you played Phantom Liberty, you know, I'm not going to spoil the story here, but I am going to load into the Black Market. This is the first moment when the player is actually entering this space.
It's really dense in geometry, lights, reflections, and characters. It's one of the heaviest areas in the whole game. Again, this is demonstrating some of the quality bar that I spoke about earlier, where we really wanted to stress frame time stability in the hardest scenes in the game. Now of course, in Cyberpunk you have no loading screens. You can traverse through the scenes in any way you want. Everything is loading in and out smoothly, and, as I go around here, there is a variety of neon and light sources. It's really, really dense, and it's all running smoothly at 60 frames per second with out of the box settings.
Ah, so these two gentlemen are actually our founders, Marcin Iwiński and Michał Kiciński. Our company started in a van, back when they were selling video games at the end of the 90s in Poland, so we scanned them and put them into the game.
They're all speaking Polish in all localizations of the game, they are actually doing the voice acting as well. This is just one of the easter eggs that we have hidden here. Alright so, we didn't stop at just settings optimization. We also adopted a number of platform specific features around windowing and app switching, game controllers and input devices, display and audio, and cloud save technologies that let you play anywhere. Modern gaming intersects with multitasking. Players play in different scenarios and switch contexts, and macOS can let you know when these things happen. We wanted to create a smooth system experience for players. macOS broadcasts events as NSNotifications that we can leverage.
Responding to NSNotification events in the game helped us ensure the game feels native to the system, accounts for app switching, and reacts to display configuration changes. We also reduce our game's CPU and GPU activity while not in focus. Next, I'll walk you through some of these behaviors.
First, we reduced activity while the game is in the background. When the game is not visible, we don't need to render and can save CPU and GPU resources for the player.
For this, we listen to the NSWindowDidChangeOcclusionStateNotification to know when we need to check for changes, and then check the NSWindow occlusionState to determine if we should pause rendering or if we should start rendering again.
Next, display settings.
Players might change the settings of their attached displays while multitasking. We want to make sure our game window is aware of these changes so it can correctly fill the screen.
When we receive an NSApplicationDidChangeScreenParametersNotification, we get the new screen resolution, and update our game window accordingly.
Now, not only can the display settings change, the player might move the game to a completely new display too.
After receiving a NSWindowDidChangeScreenNotification, we collect details about the new display. This includes for example the Display ID, resolution, mirror mode, and screen name. Based on these, we know if and how to update our game window.
We are using our own cursor to match our game style. To create a seamless system experience, we listen to two notifications to manage the cursor when the game window loses focus. For example, when I open the Game Overlay, our game cursor disappears and the system cursor appears to allow for a seamless system experience. When I close the Game Overlay, the system cursor disappears and our game cursor appears, bringing us right back into the game.
The NSWindowDidResignKeyNotification is the signal for us to show the system cursor and hide our game cursor.
Conversely, the NSWindowDidBecomeKeyNotification is the signal for us to hide the system cursor, and show our game cursor.
Aside from notifications, another thing to look for is Game Mode. Game Mode is a system feature on Apple that gives games higher priority access to the CPU and GPU, and lowers the impact of background tasks, resulting in a smoother experience.
It also improves responsiveness for wireless accessories by doubling the Bluetooth sampling rate, and that reduces latency for wireless game controllers, as well as AirPods audio latency.
And good news, Game Mode is automatically enabled for apps that are categorized as games and our validation showed the benefits players get from it. Next, let's talk about input.
On Apple platforms, the Game Controller framework made it easy for us to implement native support for a range of third party controllers. It also supports advanced controller features like touchpad and adaptive triggers, which allowed us to easily bridge our existing implementations of these features in our game.
We also support Apple's native input devices - the Magic Mouse and trackpad.
For example, every Mac laptop has a trackpad, so make sure you design your control options to adapt to the current input.
In our case, we automatically detect and enable toggle aiming and an alternative to the middle mouse button by using a modifier key and the mouse click.
Now, displays deserve their own moment.
Apple's high-end displays are some of the best we've seen Cyberpunk run on. Night City is built on contrast: neon highlights, dark alleys, bright signage, and they look incredible in HDR.
We implemented HDR through Apple's Extended Dynamic Range pipeline, which uniquely allows us to access information about the display so we can calibrate our HDR presentation automatically.
This is such a great benefit for players - they get the best HDR presentation and never have to manually adjust their HDR settings on a calibration screen with Apple displays.
To dynamically calibrate our HDR output, we simply poll maximumExtendedDynamicRangeColorComponentValue to get the current maximum EDR value for our display, and then send that to our tone mapper. This value can change dynamically depending on the capabilities of the display hardware and other conditions, so using this to drive your tone mapper's maximum HDR output will always result at the best possible HDR rendering on Apple displays. We automatically enable HDR for displays with sufficient EDR headroom, such as Apple's XDR displays. For this, we check the maximumPotentialExtended- DynamicRangeColorComponentValue, and see if the display's maximum potential EDR value is greater than 2.0.
If so, we enable HDR by default for a seamless experience. Audio is yet another area where Apple platforms offer something special. Cyberpunk 2077's soundscape is designed for spatial audio. We were able to take advantage of Apple's spatial audio APIs to enable head-tracked spatial audio for players with AirPods. This is a genuinely unique way to further immerse yourself within the game, and it's enabled by default with no additional setup.
Our game has existing support for spatial audio with our audio middleware, and our audio middleware implements Apple's spatial audio APIs via AVAudioEngine. We enabled head tracking for AirPods by setting the AVAudioEnvironmentNode's listenerHeadTrackingEnabled property to true Finally, we wanted to reduce friction for our players when introducing our game to a new platform. On Mac, we support iCloud Drive integration, allowing you to transfer save files between your Apple devices. And because we have our own in-house cross‑progression solution, players can continue their save across platforms.
They can start anywhere, continue playing on Mac, and vice versa.
So what's the outcome? A native Cyberpunk experience across Apple silicon Macs, with platform features integrated in a way that supports our quality bar.
We've sold 35 million copies across all platforms and an additional 10 million copies of Phantom Liberty.
It has been reviewed very favorably by our players on the App Store, which we are very thankful for.
And Cyberpunk 2077: Ultimate Edition was recognized as Mac Game of the Year in Apple's 2025 App Store Awards. We are really, really thankful for this recognition. It was a lot of work, but we truly believe it was worth it.
At the end of the day, what matters is not how much work you put into something, but what the result is for our players.
Alright, that is it from us right now, choom. Thank you so much! It was a pleasure sharing this with you.
Thanks Paweł.
We hope you've enjoyed this special presentation.
If you're feeling inspired, try out Game Porting Toolkit's evaluation environment to see how your next game runs on macOS. There's no code required, and setup is fast.
Use Metal HUD to evaluate your game's performance within Game Porting Toolkit.
Then, make your game stand out with a great first launch experience. Provide optimized settings for your players, and enable platform native features like EDR and head-tracked spatial audio with AirPods. Check out "Speedrun your game port with agentic coding" to learn about new agentic skills in Game Porting Toolkit 4.
Finally, you can discover powerful analysis tools in "Find and fix performance issues in your Metal games." Alright, thanks for watching. We look forward to playing your games on Apple platforms!
-
-
- 0:00 - Introduction
Garrett Austin (Apple Game Performance) introduces guest Paweł Sasko (Associate Game Director, CD PROJEKT RED) to share how Cyberpunk 2077: Ultimate Edition was brought to Mac with great performance across a wide range of devices.
- 0:44 - What is Cyberpunk 2077
An overview of the game — an open-world RPG set in Night City — and why it remains an industry benchmark: dense scene complexity and streaming, realistic lighting and materials, and demanding ray tracing and path tracing modes.
- 2:57 - Why bring it to Mac
The motivation for the port: CD PROJEKT RED's long history on Apple platforms, Apple silicon hardware maturing enough to hit a serious quality bar, and the opportunity to reach more players.
- 3:45 - How we brought it to Mac
Defining what "doing it properly" means via a three-part quality bar — visual fidelity, stable performance, and native feel — then executing the port: native builds, an adapted data pipeline, an architecture bridge, Metal Shader Converter, the native Metal rendering foundation, and MetalFX Upscaling for scalable performance.
- 4:50 - Game Porting Toolkit evaluation
Using Apple's Game Porting Toolkit to evaluate the Windows build in a translated environment before writing code — gauging feasibility, gathering CPU/GPU pressure signals, and identifying focus areas using profiling data, Metal HUD, and per-thread breakdowns to build a production roadmap.
- 13:05 - What we did to stand out
Turning the working build into a first-launch experience that feels native to macOS — adopting platform features across windowing and app switching, input devices, display, audio, and cloud saves.
- 13:16 - "For this Mac" preset
A device-based graphics preset that detects each Mac's hardware and auto-configures optimal settings — target FPS, MetalFX with Dynamic Resolution Scaling, resolution bounds, V-Sync, and HDR — tuned per device and demoed live in Dogtown.
- 26:59 - Next steps
Recommended actions: try the Game Porting Toolkit evaluation environment, analyze performance with Metal HUD, plan a great first-launch experience, and explore the related "Speedrun your game port with agentic coding" and "Find and fix performance issues in your Metal games" sessions.