-
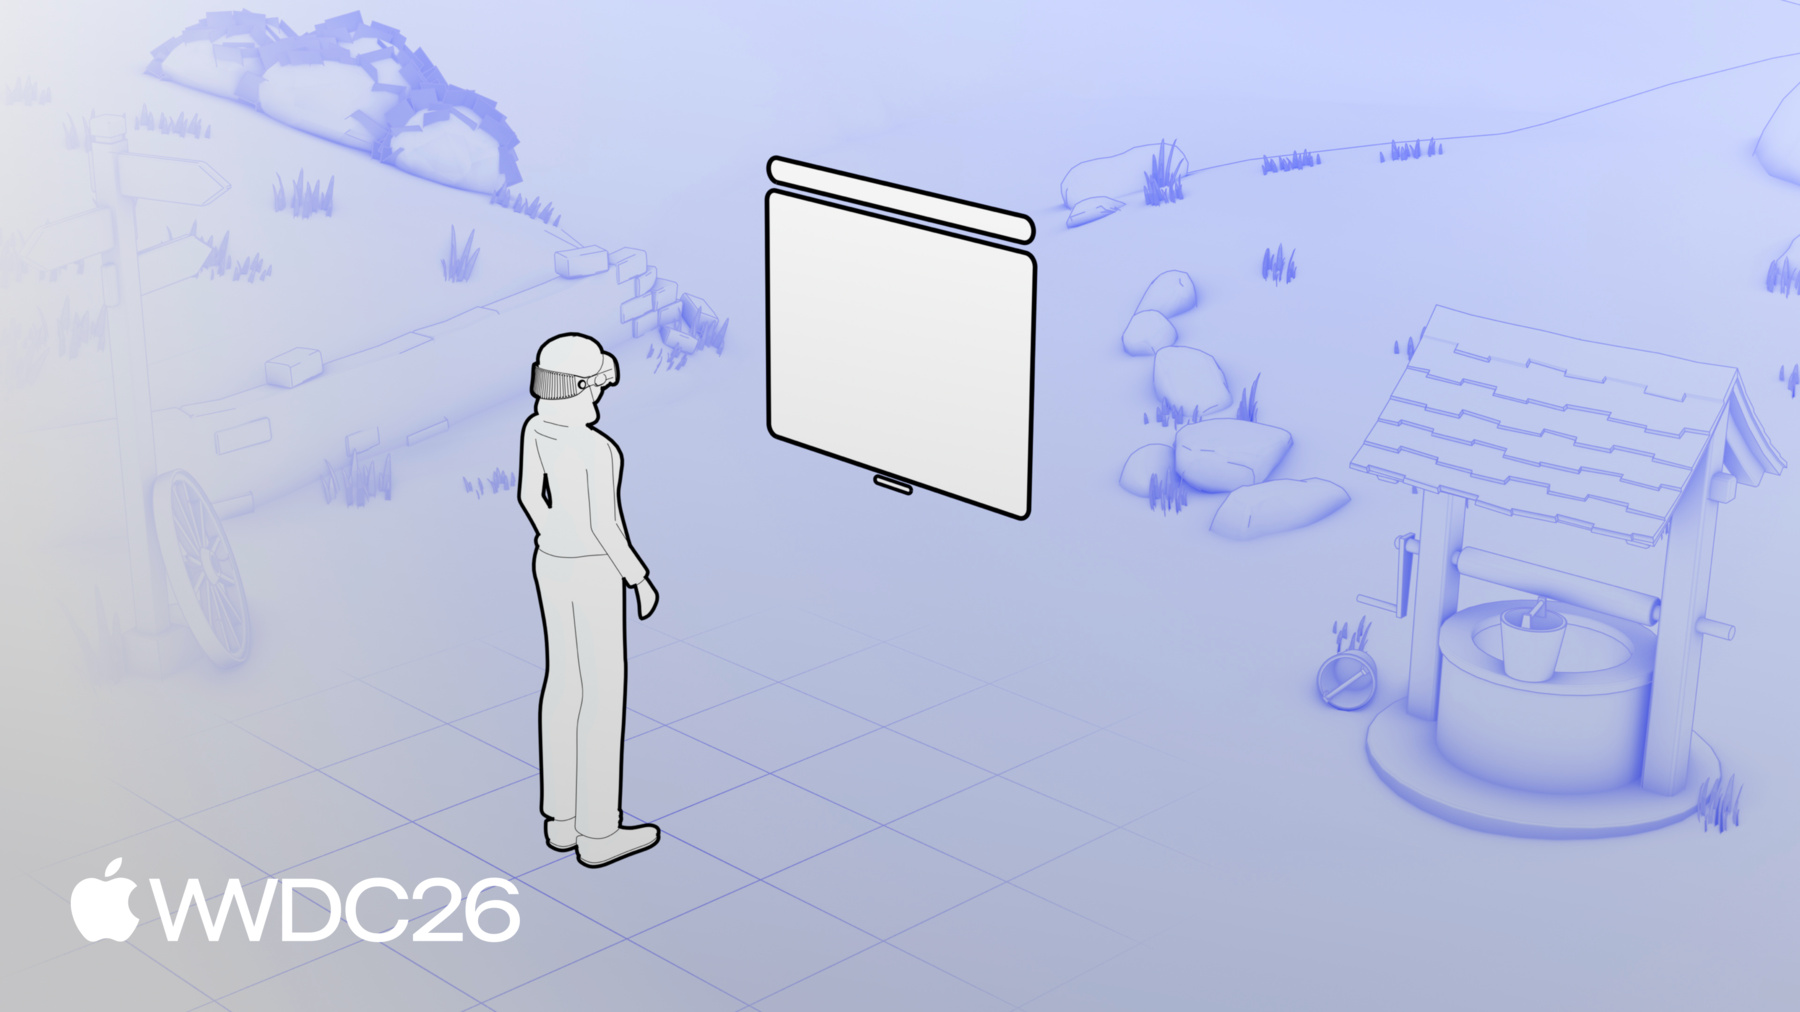
Explore immersive website environments in visionOS
Transport your website's visitors into virtual environments in Apple Vision Pro using the new Immersive API in JavaScript. Explore how to request immersive transitions from an inline model element, create compelling immersive experiences using features like video docking, and optimize performance for rich, real-world-scale experiences — all with just a few lines of code running on your website.
Chapters
- 0:00 - Introduction
- 1:46 - Meet the immersive API
- 4:16 - Preview environments inline
- 7:01 - Go immersive
- 12:04 - Optimize the experience
- 17:17 - Image controls
- 18:09 - Next steps
Resources
- Download - Immersive model add-on for Blender
- WebKit.org - Theater Ticket Sales immersive website environment demo for Apple Vision Pro
- WebKit.org - Escape Game immersive website demo for Apple Vision Pro
- GitHub: Spatial Backdrop explainer
- WebKit.org – Report issues to the WebKit open-source project
- Submit feedback
Related Videos
WWDC26
- Design immersive environments for visionOS apps and the spatial web
- Get started with the HTML Model Element
- What’s new in WebKit for Safari 27
WWDC25
-
Search this video…
Bonjour, I'm Jean, I'm an Engineer on the visionOS Safari team.
In this session, I'm going to show you how you can elevate your websites with immersive environments. A whole new way to tell stories to your audience and engage your customers like never before.
Take this ticket sales website.
As the visitors choose their seats, they get an inline preview of their selection. But more than that, they can enter the theater as an immersive environment, and literally stand at their chosen spot. And all of this from a webpage, in Safari! Well, this is one experience that I'll show you how to build today! But not the only one… Check this out. This is a marketing website for a visionOS escape game app. Transporting visitors into one of the game's escape rooms - a dimly lit chamber, with a TV screen showing a mysterious video. As it plays, it will invite the visitors to discover what's behind this door, encouraging them to download the app and find out for themselves.
In the next few minutes, you'll learn everything you need to know to start building your first website environment. I'll start by giving you a high-level overview of the immersive API for the web. Then, I'll cover how to preview environments inline in the page. After which, I'll show you how to go immersive and enter the theater from the inline preview, as well as the escape room.
And finally, I will guide you through how you can optimize your experience with video, animations, and shadow casting, while maintaining excellent runtime performance.
Alright, let me introduce you to this immersive API.
It all starts with the HTML model element, which allows you to display 3D models on your website. To use it, you need to specify your 3D asset resource. Here, a USDZ file representing a teapot. And maybe an environment map. Which is a 360-degree image that captures the lighting around your scene. With an environment map, you can add dramatic reflections and lighting on shiny objects like this teapot.
The 3D model and the environment map assets can be created through a large variety of tools. I'll be using Blender later in the session, but you can use any tool that exports a USDZ file.
If you later want to know more about this HTML element, you can check out the session "Get started with the HTML Model Element" which dives deeper in the element itself and its behaviors on all platforms. Now, let's get to the immersive part! If you're familiar with the JavaScript Fullscreen API, you'll feel right at home. And if you're not, well, you will be soon, because the immersive API follows the already widely used Fullscreen API pattern.
The same way you'd request a video to go fullscreen through the requestFullscreen JavaScript API, you request a model element to go immersive through the requestImmersive JavaScript API. And very similarly, you can exit the immersive presentation, detect if the feature is available, check if there currently is an immersive element, listen to changes, and error events, and even customize your layout directly in your stylesheet with a CSS pseudo-class.
But unlike the Fullscreen API, which replaces the web page content with the provided element, the immersive API transports the model element beyond the browser bounds while keeping the page visible. And both APIs can be active simultaneously, so you can have a fullscreen video player while being immersed in a virtual environment. What I find beautiful with this API, is that I can either use it very simply with just one request call on a model element, or use its full depth and combine it with other APIs to create incredible experiences. Like those immersive websites that I've showed you earlier, and in which I'll dive in right now. Starting with the venue ticket sales website, which provides an inline preview of the environment, inline previews are a great way to introduce an environment to visitors as a first step.
So I'll show you how to create a compelling one now.
Here is my website, running locally on the simulator. When the visitor selects a seat, this model appears, but I left it empty so far. And I'd like to add my Inline preview in there! So, in this empty HTML div, I'll add the model element. I provide the theater model USDZ file, and its lighting map.
The inline preview now shows the whole theater model from the outside. This is because, by default, the model is scaled to fit the element's bounds. In this case, this not a very interesting view to show, we'd rather show the theater from the inside! So, to get rid of this default fitting behavior, I'll need to customize the entity transform - which controls the model's position, rotation, and scale.
In my code, after retrieving the model element, and waiting for it to be loaded and ready, I create an identity matrix. And set it to my model's entity transform.
This effectively removes all transformations from the model.
Now the floor of the model currently sits at the center of the layer. That's because the origin of the theater model is on its floor. But the goal here is to show the environment at a human eye level. So, I'll translate the model down by 1 meter, which is the measured eye level height of my roommate seating on a regular chair.
This looks better! But right now, this is showing the view from the stage.
Which, honestly, looks quite nice, but I'd like the preview's point of view to match the actual seat selection. To help with that, I've created a JSON file that maps each seat to its location in the theater.
Each entry contains the translation from the model's origin to the bottom of the seat, as well as an angle representing the seat's orientation towards the stage.
The values are expressed in the right handed Y-up coordinate system, which is the convention used on the web.
So back to my website's code, I've created a new function just to build the correct transform.
It currently contains the translation for previewing the model at eye level. And I can now add the current selected seat as a parameter. And apply the corresponding seat rotation, and translation to match the seat's point of view.
And here we go — as a seat is selected, the model shows the point of view from that exact seat's location. And this inline preview also works on other platforms like macOS and iOS! I think it is a really nice experience already. But the real magic truly begins now, when the ticket buyer can step inside the theater! This is where we unlock the full potential of spatial platforms like visionOS, so let's go immersive! First, I'm checking whether the immersive API is available. This property tells me whether the current browser supports immersive presentations. With this checked, I can confidently show my Immersive Preview button, and it will only appear where the feature is actually supported. Then, I'll want to request an immersive transition on the model. This must happen in response to a user interaction. In my case, the tap of the immersive button.
Now, one important thing to note is that an inline model and an immersive model have different reference frames. They have different origins and different scales. When inline, as I just showed you, the origin of the model element is at the center of the inline layer, and the scale is following CSS conventions.
But when immersive, the origin is at the person's feet, on the floor, and the scale is true to the real world. Additionally, keep in mind that the immersive environment will open from behind Safari's window. So try to keep the main focus of your model visible, without needing to reposition the window.
So, for my use case, back in the build transform function, I add a second parameter, letting me know whether the model is displayed immersively as opposed to inline in the page.
When immersive, I add a slight rotation, so that the stage, which is my main focus here, is not hidden behind Safari's window.
Additionally, I make sure that the eye level translation is only performed when presenting the model inline in the page.
Now because the entity transform depends on the immersive state of the model, it needs to be updated every time the model goes in and out of immersive.
Listening to the immersive change event on the model element is the right way to do this. Here, I check the current document immersive state and re-compute the entity transform with the right flag. And, while I'm here, I'll also update the page layout to reflect the current state. In my case, when going immersive, I'm adjusting the model interface, and displaying an exit button.
It's always good to present a clear exit affordance for your immersive experiences.
But also keep in mind that a visitor using an Apple Vision Pro can use the Digital Crown at any time to dismiss the immersive environment.
That's why, if your UI depends on the immersive state, it's critical to listen to immersive state changes and update your layout accordingly.
And just like that, I've built an experience that transports the ticket buyer inside the theater, sitting right in the seat they picked. They can look around, check the view of the stage, lean over the balcony… Oh wow! This is quite high, you don't want to fall down there. Make sure to hold the safety railing……. What?! What happened with the safety railing here? Ugh.. sorry, I'm getting off topic. This experience is way too immersive.
Alright, let's switch gears and dive into something a little more mysterious.
Say you've built a visionOS escape game app. You've poured hours into crafting incredible environments for this game. Well, with the immersive API, you can use those same environment models to create an unforgettable marketing experience, right from your website, in Safari. Let me show you how I built this. I was surprised how little code it takes.
So here, even though the model element would make it easy to create an inline preview, I prefer to keep the surprise.
When adding the model element in my HTML code, I simply set display to none. Doing this, hides the inline layer from the page, but doesn't prevent me from requesting the model as immersive.
And there's a practical benefit to hiding the inline preview this way. Indeed, the asset won't be downloaded or decoded until the immersive request actually happens. For heavy environment models, that can save significant bandwidth and memory if the visitor doesn't actually enter the environment.
The next thing to do, is simply to request the escape room model as immersive on the button's click event.
Since the model isn't pre-loaded inline, the immersive request may take a moment. Especially for heavier and more complex assets.
I'll show you later how you can reduce this loading time by optimizing your asset. But for now, I'll at least give visitors feedback that something is happening, with an intriguing loading animation.
In the code, I'm showing it before the immersive request, and hiding it once it completed.
And that's about it for getting into the environment! Pretty straightforward! Alright, now, I'll talk about the features that make this escape room come alive on visionOS.
All the little things, that make one simple experience go a long way.
I'll start with videos.
Instead of having your video playing inline in your website. The video docking feature elevates your video, and places it directly inside the environment, on a TV screen, a projector, or a billboard, whatever surface fits your story best.
Additionally, you can add materials that diffuse, or reflect the light coming from the video. Which makes it feel part of the scene.
To create this experience, you'll need to add some custom RealityKit annotations to your USDZ file. These are not yet standards, but I'm a big fan of Blender, so I made a little plugin to add those components directly while creating my environment.
Here, I am using it to tag the TV screen, to be the video docking region of my scene. And I'm also using this same Blender extension to facilitate the baking of the video light spill onto my materials.
Now, once I exported my assets with these new properties, the next thing to do, is to request a fullscreen transition on the video. Here, I'm requesting this on the click of the demoButton.
This automatically transports the video to the right location in my environment, and hides Safari's window! The video is fully integrated into the environment. The light from the TV spills onto the floor and walls, dramatically increasing the realism of the space.
Now, for the twist, let me show you how I can make this mysterious door slide open.
I've created this door opening animation in Blender, right before exporting the model. So really the only thing left to do is play it at the right time.
With these few lines, I listen for the video's ended event, then exit the fullscreen video, which will undock the video and bring back the website. And finally, I play the model animation.
Here you go, the room transforms, the door slides open, and the mystery keeps on growing.
Model animations can be quite powerful. You could create an entire timeline of animations. And you'd be able use the model's currentTime property to navigate through the timeline, and transform your environment through multiple stages. If you want to know more about that, I'd encourage you to check out the session "What's new for the spatial web", which dives a bit deeper into these possibilities.
Ok, let's have some fun with just one more thing.
I want to show you how Safari's window is casting its shadow on the environment. I personally find this detail so important, because this shadow helps people understand the positioning of the window inside the space, and makes it feel like part of the environment.
Enabling this also requires a RealityKit annotation. Here, with my same Blender extension, I'm tagging the meshes that should receive these shadows with the Scene Understanding component. I made sure to create a dedicated low poly mesh, optimized just for this, as computing shadows on a complex mesh can consume a lot of resources.
Alright, now I'll end this session with a quick note on performance.
Environment models tend to be heavier and more complex to render than simpler object models. Let me show you what you can do to optimize your asset, making it smoother to render and faster to download.
First off, reduce your asset vertex count.
In my escape room, I made sure that I'm not exporting any mesh that would be invisible to the viewer standing at the origin.
Doing this, I've drastically reduced the number of vertices, without anyone noticing.
Then reduce the entity count. In my case, I've merged the desk with all its decorations to avoid having too many separate entities.
Use low poly meshes when appropriate. Like the one I used for the scene understanding component to get shadow casting at a low cost.
Keep your shaders as simple as possible. For the escape room, I've baked all the lighting in the materials. Which means that I painted the light and shadows onto the textures, allowing me to make them unlit materials and skip heavy shading computations at runtime.
Finally, use the usdcrush tool to compress your USDZ's textures. It's available as a command line tool on any Mac, and can help you reduce the size of your model quite a lot, which directly translates to faster loading time for people on a slower connection. I'd recommend to check out the WWDC session, "Optimize your custom environments for visionOS" that goes way deeper into 3D asset optimization.
Alright, here we are. You're now ready to create your own experiences. To transport your customers into your environments. With just a model element and a handful of API calls, you can redefine the way your visitors interact with your website. And I've only scratched the surface here. There are so many other APIs you can combine to bring an immersive dimension to your website.
One of them is the image controls API. By simply adding the controls attribute on my image element here, the browser will offer native controls. Providing a relevant User Interface for platform specific features. Like on visionOS, where this allows people to make this panorama fullscreen, which will wrap it around them in their space. And this also works for spatial photos. Which can be captured directly from your Apple Vision Pro, or your iPhone. Just like with the model element and the immersive API, with image controls, one little thing in your code goes a long way. Creativity is the only limit.
Here's what I encourage you to do next.
Try the online demos on webkit.org with your Apple Vision Pro, there's no better way to understand the impact of the feature than experiencing it yourself.
Create your first website environment. I have attached resources to this session to further help you, like the API specifications, check them out! And finally, while you'll be building your own experiences, file feature requests or bug reports at bugs.webkit.org. Oh and also, check out this session called "Design immersive environments for visionOS apps and the spatial web". It explores the high level principles of creating great photorealistic environments.
I'll personally be on the lookout for what immersive experiences you'll create. Thank you so much for joining this session, hope you enjoyed it! Have a great WWDC!
-
-
1:51 - Basic model element
<model src="teapot.usdz"> </model> -
2:06 - Model element with environment map
<model src="teapot.usdz" environmentmap="kitchen.hdr"> </model> -
4:40 - Adding the environment model on the page for inline preview
<div class="seat-preview"> <model id="theater" src="theater-model.usdz" environmentmap="theater-lighting.hdr"> </model> </div> -
5:14 - Reset the model entity transform
const theater = document.getElementById("theater"); async function updateModelTransform() { // Make sure the model is loaded await theater.ready; // Create a transform matrix const identity = new DOMMatrix(); // Apply the transform matrix to the model theater.entityTransform = identity; } updateModelTransform(); -
5:42 - Translate the model down
const theater = document.getElementById("theater"); async function updateModelTransform() { // Make sure the model is loaded await theater.ready; // Create a transform matrix const transform = new DOMMatrix(); // Translate model down, for eye level preview transform.translateSelf( 0, // x -1.0, // y 0 // z ); // Apply the transform matrix to the model theater.entityTransform = transform; } updateModelTransform(); -
6:40 - Build the seat transform
function buildTransform(seat) { const transform = new DOMMatrix(); const { x, y, z, ry } = seat; // Rotate and translate the model to match // the seat's origin and orientation transform.rotateSelf(0, -ry, 0); transform.translateSelf(-x, -y, -z); // Translate the model down, for eye level preview transform.translateSelf(0, -1.0, 0); return transform; } -
7:16 - Detect feature availability
if (document.immersiveEnabled) { immersiveButton.hidden = false; } -
7:34 - Request the immersive transition on the model
immersiveButton.addEventListener("click", async () => { await model.requestImmersive(); }); -
8:24 - Build immersive transform
function buildTransform(seat, immersive) { const transform = new DOMMatrix(); // [...] Seat transform logic if (immersive) { // Rotate to the left transform.rotateSelf( 0, // x 45, // y 0 // z ); } else { // [...] Eye level translation } return transform; } -
9:01 - Update the entity transform and the layout on immersive state updates
theater.addEventListener("immersivechange", () => { const isImmersive = !!document.immersiveElement; const transform = buildTransform(isImmersive, currentSeat); theater.entityTransform = transform; document.body.classList.toggle("immersive", isImmersive); }); -
10:53 - Hide the inline preview
<model id="escapeRoom" src="escape-room.usdz" environmentmap="room-lighting.hdr" style="display: none"> </model> -
11:25 - Request an immersive transition on the escape room model
const enterButton = document.getElementById("enterButton"); const escapeRoom = document.getElementById("escapeRoom"); enterButton.addEventListener("click", () => { await escapeRoom.requestImmersive(); }); -
11:52 - Handle the request result and show a loading animation
enterButton.addEventListener("click", async () => { showLoadingAnimation(); try { await escapeRoom.requestImmersive(); } catch (error) { console.log(error); } finally { hideLoadingAnimation(); } }); -
13:16 - Dock the video in the environment with the fullscreen API
const trailerVideo = document.getElementById("trailerVideo"); const demoButton = document.getElementById("demoButton"); demoButton.addEventListener("click", async () => { await trailerVideo.requestFullscreen(); }); -
14:01 - Play the model animation
const trailerVideo = document.getElementById("trailerVideo"); const escapeRoom = document.getElementById("escapeRoom"); trailerVideo.addEventListener("ended", async () => { await document.exitFullscreen(); escapeRoom.play(); }); -
16:38 - Compress your USDZ with usdcrush
usdcrush model.usdz -o optimized.usdz
-
-
- 0:00 - Introduction
The immersive API in visionOS Safari is previewed through two example websites — a theater ticket sales experience and an escape-room marketing site — that transport visitors into virtual environments using just a few lines of code.
- 1:46 - Meet the immersive API
Get a high-level overview of how the HTML `
` element pairs with the new JavaScript `requestImmersive()` API and a `:immersive` CSS pseudo-class. Unlike the Fullscreen API, the immersive API opens an environment around your existing webpage rather than replacing its content. - 4:16 - Preview environments inline
Build the inline portion of the ticket sales site: load a theater model into the page, let visitors pick a seat by applying a `DOMMatrix` transform to the `
` element, and prepare the same model for an immersive transition. - 7:01 - Go immersive
Transition from the inline preview into a full immersive environment. Covers the difference between inline and immersive coordinate systems, listening to `immersivechange` events, dismissing the environment, and skipping the inline preview entirely for the escape-room marketing site.
- 12:04 - Optimize the experience
Polish your environment with RealityKit annotations authored in Reality Composer Pro or via a Blender plugin. Dock playing video into a TV inside the scene, trigger model animations from JavaScript, cast Safari's window shadow with the Scene Understanding component, and reduce vertex/entity counts to keep assets fast to load and render.
- 17:17 - Image controls
Add a single `controls` attribute to an `
` element to give visitors an immersive viewing affordance for spatial photos — a small markup change that pairs naturally with model-based environments.
- 18:09 - Next steps
Try the immersive demos on webkit.org with an Apple Vision Pro, file feedback at bugs.webkit.org, and watch "Design immersive environments for visionOS apps and the spatial web" for the design principles behind great photorealistic environments.