-
Build spatial experiences with RealityKit
Learn how you can build experiences for visionOS. Explore how native Apple frameworks like SwiftUI and RealityKit can help you build compelling stories and games. Find out how Reality Composer Pro can help you bring in 3D assets, create compelling environments, and build fluid animations.
This session was originally presented as part of the Meet with Apple activity “Create immersive media experiences for visionOS - Day 1.” Watch the full video for more insights and related sessions.リソース
関連ビデオ
Meet with Apple
-
このビデオを検索
Hello, my name is Nathaniel and I'm an engineer here at Apple. So you've dreamed up the perfect experience you want to bring to life on visionOS. Apple Vision Pro is the most capable platform for bringing spatial experiences to your audience. But how do you actually start building? Today we'll explore how you can bring 3D immersion to your storytelling experience with Vision Pro with RealityKit.
During this presentation, I'll be using assets and examples from a sample project Petite Asteroids, that we released earlier this year. This is a vertical slice of a complete spatial experience on Vision Pro. The full Xcode project, including the assets you'll see today, is available for download on the Apple Developer website. You can build a project for yourself and experience it in Xcode, simulator or on device.
There's a lot more to this project that I won't be able to get into today. So I hope you're able to download this project after the presentation and try it for yourself. We know many of you are eager to see your content on visionOS.
We want you to know that you don't have to start your project from scratch. You can bring your existing experiences to visionOS. There are several different pathways to getting your content on device, so let's go over a couple of them first. Existing projects built with native Apple frameworks like RealityKit will have the easiest time bringing their experience to visionOS, because RealityKit works great across Apple platforms.
You can also build new experiences, new experiences from the ground up with Apple frameworks. The Encounter Dinosaurs Experiences was built with RealityKit.
Alternatively, if you have a project built with unity, Unreal or Godot, you can configure your project to target visionOS.
These game engines all have a well-established track record for building Triple-A games and fully immersive experiences using workflows many people are already familiar with. And you can also take advantage of your existing skills in these game engines to create groundbreaking experiences for Vision Pro like Tiago did with D-Day The Camera Soldier. The studio uses Unity Poly Spatial to design a custom immersive player for their experience.
Let's talk about why you might want to go with native RealityKit over other options, like third party game engines. First, Apple frameworks naturally work great across Apple platforms. If you've already built an AR app with RealityKit for iOS and iPadOS, you can bring that same code to visionOS. And new this year, RealityKit is now available on tvOS.
RealityKit is built to work together with other Apple frameworks to create unique experiences. This means you can use tools like AVKit and SwiftUI to bring additional functionality to your app. Let me give you some examples.
AVKit gives you tools for playing back audio and video on visionOS. To the right is a recording of an app you can make to playback spatial videos. If you bring RealityKit into your app, you can elevate the immersion with rendering effects and immersive environments.
Another powerful framework is SwiftUI. SwiftUI gives you everything you need to define your apps, windows, volumes, and spaces, as well as the content that exists inside them.
And when you combine SwiftUI with RealityKit, you can build UI controls that directly interact with 3D models in your scene.
Of course, going with Apple's first party APIs means you'll always have access to the latest technologies as we make them available, like Nearby Sharing, which you'll hear more about from Ethan and Alex later this afternoon.
Today, I'm going to introduce you to one of my favorite frameworks, RealityKit. We announced RealityKit in 2019. Since then, we've continued to improve RealityKit, and today it is more capable than ever, works across Apple devices, and is part of a complete suite of frameworks for building interactive apps.
So what kind of experiences can you create with these technologies? You can make robots shoot sparks and fall in love without ever leaving a window.
You can explore the Grand Canyon from your tabletop.
You can build an amazing theater environment for your audience to enjoy your movies.
You can help a little chondrite get back to her friends from the comfort of your living room.
Or fully immerse someone in the beauty of the Wild West.
We built all of these experiences with RealityKit, and today I'm going to show you how you can get started. For this presentation, I'll first go over how to work with 3D assets.
Then after a quick demo, I'll move on to talk about designing immersive scenes.
Next, I'll talk about bringing interactivity to our experiences, and then we'll take what we've learned and apply it in another demonstration. So let's get started.
In order to build apps that take advantage of a 3D space, you'll need to understand how to work with 3D assets. 3D assets can come in many different file formats, so let's take a high level look at some of the other formats out there today.
The most basic format is obj, which often essentially contains just a single 3D model. It has limited support for materials and no support for animations.
Then there's a large group of more modern formats, including FBX and Gltf. These usually support multiple models that can be laid out in a scene graph, and have varying levels of support for materials and definitions. Many are tied to proprietary tools.
USD supports all of this and is additionally designed to be highly scalable. Pixar developed USD for its use in films, so representing millions of objects is the typical case.
And USD is built with collaboration as a core feature, allowing for many artists to work on a single scene without getting in each other's way.
USD stands for Universal Scene. Description.
It was originally created by Pixar for movies or as we like to call it, linear media. Today, USD is quickly becoming an industry standard for 3D content thanks to widespread adoption by companies like Apple and Nvidia.
Usdc, Usdc, and USDA are types of USD files, each for different purposes.
To create USD files, you'll need to use a digital content creation or DCC app like blender, Maya, Houdini or ZBrush.
These are professional grade tools with complex workflows and are used to create assets for film and Triple-A video games.
With the DCC, artists can manipulate the vertices of an object directly or sculpt the shape out of virtual clay.
When the asset is ready, these apps can export 3D content to USD. But what do you do with the USD file? That's where Reality Composer Pro comes in.
Reality Composer Pro is Apple's scene authoring tool for building spatial content with USD for RealityKit without code.
Reality Composer Pro is included with Xcode. When you create a new project targeting visionOS, Xcode will create a Reality Composer Pro package inside your project, and this is where you'll organize your spatial assets.
Here's a screen capture of Xcode. Just after I created a new project. On the left side under packages is the RealityKit Content package, so let's click to expand it.
Inside you can see the source assets in my project. There isn't much here yet because this project is new, but as I import assets into Reality Composer Pro, they will begin to show up here.
And I can open this in Reality Composer Pro by clicking this button.
Reality Composer Pro lets you design scenes for spatial apps and experiences without code. So let's jump to the first live demo of this presentation and see what Reality Composer Pro looks like and how you can use it to build scenes from 3D assets. For this demonstration, I'll be using assets from a larger sample project Petite Asteroids. There's a lot to this project. It's a vertical slice of a complete volumetric experience on Vision Pro.
The full project, including all the assets you'll see today and more, are available to download on Apple's developer website. So let's go over to the podium and I'll start the demonstration.
So I'm going to go ahead and open up this project that I prepared ahead of time. So what you see on screen now is Xcode. And this is very early on in the development of petite asteroids. So we've started with one of the default Xcode visionOS templates that Xcode provides. And on the left here, all we've done so far is really we've added we've brought in some some assets into our RealityKit content package. And to show you that, I'll just go down here to click on this package button and let's open up Reality Composer Pro. I'm just going to quickly close this tab so we can start from a fresh canvas. So here we have Reality Composer Pro open in front of us. We don't have any scenes open yet so we can change that. I'm going to go to the models folder here. We have our source assets in our project. And you'll notice they're all pink. They're pink and that means they're missing textures. This pink striped color means they don't have a text or don't have a material yet applied. So in order to apply a material, we'll create a new scene in Reality Composer Pro. So in the project browser I'll click this button here. And what I want to do is bring in a USD reference to one of my source assets. And so I can do that using the plus button here on the left side in the Scene hierarchy window. I'll go down to reference.
I'm going to look for the model that I want to edit. I'm going to select this five container. You'll notice that it comes in offset from the origin. That's just how the artist had prepared it ahead of time. You'll see with the other pieces in this butte that I'm going to create later, that they'll kind of fit together like a puzzle piece. And that's thanks to the way the artist was able to offset the mesh ahead of time. But what we want to do for this demonstration is apply a material to this pink striped rock. And so we can do that with another USD reference. So I'm going to reference a material that I've already prepared ahead of time. And later on I'll show you how to create materials. But for now let's use a reference to an existing material. And I'll go here to my scene. I'm going to click this material I've created.
So now in Reality Composer Pro we've created a new scene. We're using USD. References to a source asset in a prepared material. And in order to apply the material, I'll click the entity. The entity. I'll go over here to the right side in the materials binding section I can now select route material and there we go. So that's one way we can start to modify our source assets. But we don't want to stop here. We can continue to use USD and USD references to build up layers of complexity in our scene. So for this demonstration, I'm going to show you how we can build a fully immersive environment in Reality Composer Pro. And I'll start with a new scene.
A great place to start when you're building fully immersive environments is with a SkyDome asset, and Reality Composer Pro does provide a default one out of the box, and you can add it to your scene. With this plus button, you can go down to environment, click SkyDome. You'll notice that our viewport just changed. That's because we've added a new entity to our scene. And if I zoom out a little bit, we can see what that looks like.
So really all this SkyDome is, is just a very large asset that completely surrounds the user and all its faces are facing inward. But this is kind of a gray void. It's not very interesting yet. And of course I've prepared a more interesting asset ahead of time. So I'm going to delete this default skydome.
And now I'm going to bring in a USD reference to an asset I've prepared ahead of time. So reference scenes, find my SkyDome scene here and I'll select that.
Now if I zoom in to the center.
I can use the controls in the bottom left to sort of look around the scene as if I was on device in the headset. And you can see that this skydome now fully immerses me in this environment on all angles. I can look up and I can see the sun, and I can see this kind of dry desert landscape in all directions. But I'm going to show you how we can continue to bring in our other prepared assets that we like. The piece that I just prepared earlier. So we're going to skip ahead a bit. I've prepared these other scenes for us.
I'm going to show you a quicker way we can bring in a USD reference to our scene, and that's just dragging and dropping into the scene hierarchy. Let me zoom out a bit.
So that's a distant terrain piece that kind of blends in the color of the background. I'm going to bring in another piece a ground piece.
And now you can see how I mentioned these are kind of starting to fit together like puzzle pieces. And that's just because of the way the artist had prepared these assets ahead of time. So I'm going to select shift select to select multiple assets. I'll select the platforms as well. I'll drag all of those into my scene.
And there we go. So now we've assembled an entire immersive scene using these prepared assets in Reality Composer Pro without using any code. But of course, we want to see what this looks like on device or in the simulator. So I'm going to switch back to Xcode.
And open up this project that I've built ahead of time.
And if I click play.
It should build very quickly and launch inside the simulator.
If I show the immersive space, there we go. And so if you were on device, you can imagine yourself standing here at the at the base of this enormous butte. You could look around in every direction. And that's one way you can really quickly build a fully immersive environment in Reality Composer Pro without using any code. So that's the end of the first demo. I'm going to jump back to the presentation, and we'll learn more about how we can use Reality Composer Pro to add more interest to this scene. So now that we know how to how we can bring our content into Reality Composer Pro, we've even built our first spatial scene. Let's dive deeper into the powerful scene design tools available in Reality Composer Pro.
To the right is a screen capture of the project browser and petite asteroids. It shows all the USD assets I've already imported into this project.
From the previous demo. You know, I like to call these source assets because I haven't yet been further refined with added materials or custom behavior.
To build with source assets. Create a new scene and use USD references to bring in other USD files. Here's our five piece open in a new scene.
You can tell that we're working with a USD reference to our entity by the blue arrow and italicized entity names.
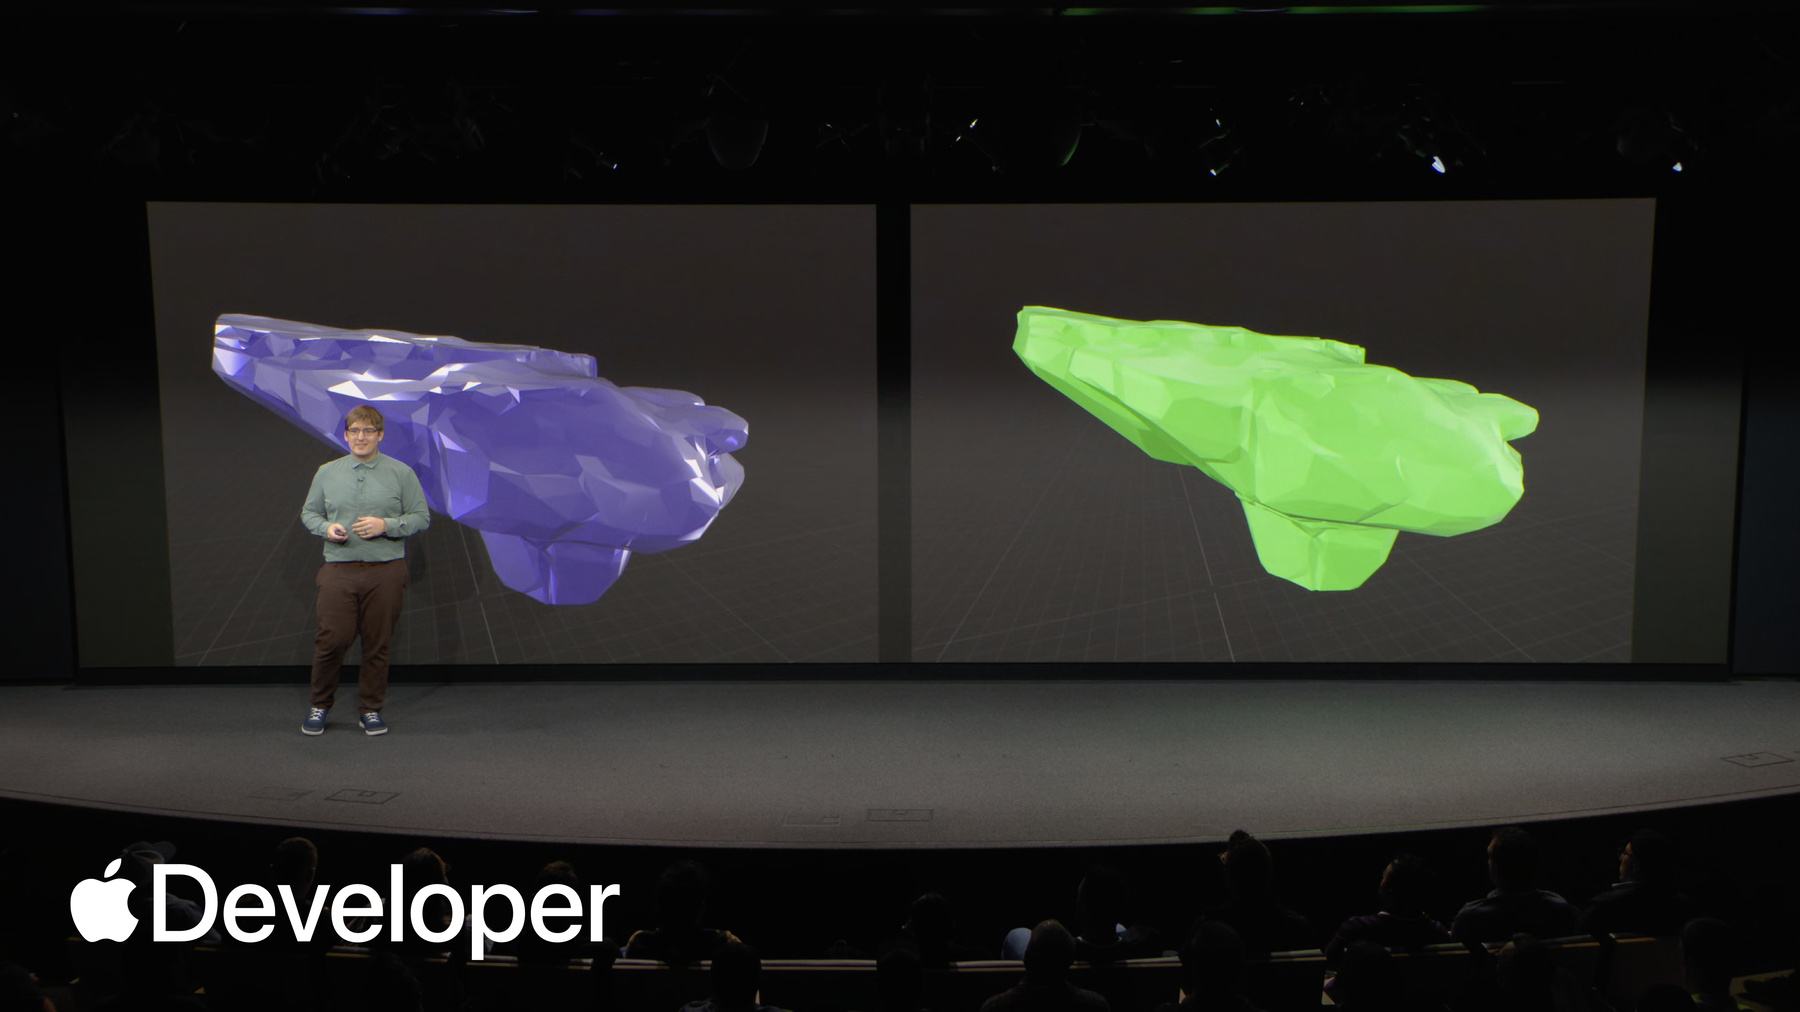
Let's explore how we can apply a material to this USD. These usds the pink stripes on our model mean no material is applied to apply material. Select the entity and if there are materials in your scene, you can select them in the dropdown inside the Materials binding section of the Inspector. This will apply to all descendant entities as well.
That looks great.
You can use different types of materials depending on what you want your model to look like. So let's dive deeper into how you can create materials inside Reality Composer Pro.
We built these materials with Shader graph. Shader graph lets you work visually with material properties, inputs, and outputs to design the logic that renders your spatial content.
In petite asteroids, we use Shader Graph to optimize the look and feel of the characters on the butte. The shadows below the characters you see on screen are actually being drawn by a custom shader graph material. They aren't real shadows like what you'd expect from a stage light.
And for the character, when she jumps, we apply a subtle squash and stretch effect using a shader graph material as well. There's a lot to cover, but let's look at some of the basics so you can get started.
Here's one of the scenes from the earlier demo. This is the Butte three piece, and it's somewhere in the middle of the structure.
In the bottom of the window. You can see the shader graph editor. Open the panels inside represent the rendering logic for my material.
Let's take a moment to walk through what this material is doing because it isn't very complex.
You can start to understand the shader graph by reading from right to left, starting from the outputs node.
The outputs node has a single input for the surface, an unlit surface. These are simple, highly performant shader graph nodes because they don't interact with lighting in our scene.
The unlit surface has a single input for color an image node. This is where you can input the textures for your model.
This is the texture of one of the butte pieces from petite asteroids. You might be able to imagine wrapping this image around the surface of an object, kind of like papier maché, so that the cracks and shadows in the texture perfectly match the geometry of the model. And that's exactly what we're doing. This source asset was prepared by an artist who also provided the texture. So the faces on the model will line up exactly with the pixels inside the image.
This process is called UV mapping. When you configure a simple unlit shader like this and apply it to the source asset, the model instantly appears beautifully rendered in our scene, just as the artist intended.
The materials and petite asteroid were created in Reality Composer Pro with shader Graph, in combination with other advanced shader techniques made possible by RealityKit to create these beautiful scenes in your living room.
Next, I want to talk about the timeline feature in Reality Composer Pro timeline is a no code solution for sequencing actions and behaviors in your scene.
For petite asteroids, we wanted to tell the story of of a chondrite after she crash lands on Earth and is separated from her rocky friends. When a person opens petite asteroids for the first time, they're presented with this intro sequence, which was made possible by timeline feature in Reality Composer Pro.
Here's what the timeline editor looks like. Timeline lets you sequence actions to be executed in a particular order at a particular time.
On the left panel is a list of all the timelines.
The center is the main timeline editor, and the right panel is a list of all the available built in actions.
And the play button will let you preview your timeline in the viewport. You can go further with timeline by sending notifications that you respond to in code.
In Petite asteroids. We use timeline notifications to trigger procedural animations like the ramping fire particles trailing behind this meteorite. And to show you, I like the speech bubbles above characters.
Now let's talk about how RealityKit enables you to add interactivity to the entities and scenes you design inside Reality Composer Pro.
We've been working with entities in the previous demo and throughout this presentation.
For example, when you load a USD asset into your scene using RealityKit APIs, an entity gets created with components like model, component, and transform.
Let's fast forward a bit in the development of petite asteroids, and take a look at how you can attach components to your entities to give them additional functionality. Here's a new scene we've created for our main character.
With the entity selected, the inspector now shows information about the components attached to the entity.
The transform contains data for the entity's position, rotation, and scale in 3D space. If I were to move or scale this entity, that change would be reflected here.
I further customize this entity by giving it a Charactercontroller component. Charactercontroller component works great for entities that move and slide around on surfaces in response to input.
To learn more about the different components available to you, visit the developer website.
Let's build a mental model of how to design entities in RealityKit. Here's a simplified view of our character entity.
RealityKit lets you build up functionality and behavior by composing entities from sets of components.
All entities in RealityKit have at least a transform component. This makes it possible for the entity to have a position, orientation, and scale in the scene.
To create a ball entity, you can give an entity a model component for the mesh and materials. A collision component to register collision events, and a physics body component so that it can move in response to forces.
For a character entity, you can also use a model component, but instead of using a collision or physics body component, use a Charactercontroller component to interact with the physics simulation.
And then for a portal entity. The key is to use a portal component in in combination with a model component.
As an exercise, let's investigate how we can create portals using entities and components.
Petite asteroids uses an L-shaped portal to frame the content inside a volumetric window, and this looks amazing on device.
To create a portal setup, start with an entity with a mesh with the portal shape you want. I created this L shape inside blender.
Then add a portal component to this entity.
Next, add a portal material to your model component. But without a world to render, portal material doesn't do much on its own.
Choose a second entity as your world entity and give it a world component. For petite asteroids, our world entity is the container entity for our SkyDome, the Butte assets and everything in our scene.
You then specify this root entity as the target entity for your portal.
So when you start with a portal entity and your world entity.
You'll get something like this. Hold on.
The butte is getting clipped when we look at it from certain angles.
At a portal crossing component to the entities that should be rendered outside the portal.
Perfect.
Additionally, we've set the crossing mode on this portal component to be positive Y. This ensures the entities across the portal in the way that we expect.
You may have heard of entities and components in the context of X or entity component systems.
Systems contain logic for working with entities and components, and are the third piece of the way RealityKit enables you to create interactive spatial experiences.
Custom systems are written in Swift inside your Xcode project. Systems allow you to provide custom logic to your spatial experience.
Create a system by defining a new Swift class that implements the system protocol.
Systems have an update function that is called each frame. This is where you can modify your entities over time.
Create queries to search for specific entities, such as all entities that share a specific component. Then each frame you can use the query to iterate over your desired set of entities.
Let's move on from looking at code and talk about how you can bring interactivity to your RealityKit entities with SwiftUI gestures.
With gestures, people can pick up virtual content naturally using the advanced hand tracking capabilities of Vision Pro.
You can use gestures to allow people to interact with your content in ways that they expect, like pinching and dragging to move items around to space.
In petite asteroids. We use a spatial tap gesture to tell our character to jump when the person holds and drags the character roles in the direction of the drag.
When using the simulator, you can simulate gestures with the mouse and keyboard. In the next demo, I'll show you how you can wire up the gesture to reality view in code so you can bring gestures to your own experience.
We just went over a lot. Shader graph and timeline let you design your scenes in Reality Composer Pro without code. You can build entities through composition by mixing and matching different components.
We just saw how SwiftUI gestures can add interactivity to our entities. So let's revisit the Petite Asteroids project to see what has changed during development, and see how we can use all that we've learned to enhance the experience we've created so far. So on to the demo.
So let me go over to the next project that I prepared for this demonstration.
So we have been hard at work on petite asteroids. We've added some code to our project. We've added some more USD files to the project, but first I want to show you exactly what's changed since we last left off. So I'll just go ahead and click play.
Let me move our view up a little bit.
Look down. So there we go. So right off the bat, you'll notice we're no longer in a fully immersive scene. We're now inside a volumetric window. And you can see at the bottom of this window there's a menu bar that the person can use to move the the volume around their window so they can place it on the floor or their table. Additionally, we framed our scene inside that portal I just talked about earlier. So we're using this L-shaped portal that I recreated in blender. And inside the simulator, I can use these controls to the right to kind of swivel my head around. And you can see what that that effect looks like in the simulator. And it'll look amazing on device as well.
Let me zoom in a bit so you can see our character.
There she is. But if we click around, nothing's really happening. That's because we haven't hooked up our SwiftUI gestures yet. So let me show you how we can do that in code very quickly.
So.
I'll go over to contentview. So if you've used SwiftUI gestures before, this will look very familiar to you because it's just like any SwiftUI gesture you might create using SwiftUI. So we're creating a tap gesture here. It is a spatial tap gesture, and it's targeted to any entity. So we can tap anywhere in our scene and we'll be able to execute the code that we want. And that code is when this gesture ends, we call a function called handle spatial tap that we wrote. And this is where we'll tell our character to jump. Because this is a SwiftUI gesture, we'll need to install it in our Swift and our Swift view. And we can do that with the SwiftUI modifier, the gesture modifier. And that's all you'll need to do to install a gesture onto your reality view. But of course we we don't want to do this much in code. We want to go over to Reality Composer Pro and see what we can add to the scene. So let's just go ahead and open up our project.
One second. There we go. I'm going to close out this tab. So what I want to do for this demonstration is create an intro sequence using timeline in Reality Composer Pro. So I'm going to find the scene that we were working on earlier. It's going to be in our scenes folder. It's the static scene object. And once it's finished loading there we go. So it looks just like we left off. However, I've been organizing our scene a bit. I've got these container entities here. I've got a container entity here. I've got it. We can see we have a USD reference to our character.
And so like I mentioned, I want to create an intro sequence using timeline. And what I'm imagining is going to happen is maybe this butte, this sorry, this Butte container entity here, we can have it sort of slowly animate up out of our portal when the user loads the scene for the first time. So to set this up, I'm going to give this butte an offset so of two meters. So because we're working in centimeters I'll do 200. And you can see in the transform component here I'm using CM for centimeters. So that's two meters below our scene. And now we can create a timeline by going over to the timelines tab.
I'll click this plus button to create a brand new timeline. And in order to move our entity around the scene, we can use the timeline action that we can find over here on the right panel. So let me drag this transform. This transform to timeline action.
I'll slide it all the way over to the left so that it starts immediately. When this timeline plays, this yellow icon means we haven't set our target yet. So of course we want that to be this container entity that I was just sliding around. I'm going to click done.
It took that default -200 position when I added this transform two action. So I'm just going to reset that to zero because I want to transform it back to zero from that offset. And if I click play now if I go over here and I should be able to click play. There we go. It's a little fast, so I can speed this up by stopping the timeline. Going back over to the inspector, setting this duration to seven seconds instead of one second. Enter. Let me zoom out the timeline. Let me. Let's play that and see what that looks like.
There we go.
One thing I'm noticing right away that looks a little bit awkward is our character entity is sort of floating around in space while this, this butte is rising up around her. So to quickly fix that, I'm going to use another timeline action. I'm going to go over to this actions panel. I'm going to find the disable entity action. I'll drag that into my timeline. I'll slide that over to the left because I want to disable this entity immediately. When the timeline starts again, there's this yellow icon, which means I need to select a target. I'm going to choose this character. Entity. Done.
Now, if I click play.
She's disappeared. Of course we want to bring her back.
With an enable entity action.
Again, I need to choose a target.
And I want to bring her back. About six seconds into our our intro sequence. So I'll set the start time to six. So now if I press play, I scroll over here, press play. Let me stop that. Try one more time. She's vanished. Our buttes rising up.
And then right around six seconds. There she goes.
One more thing I want to show you that you can do in timeline, which is very powerful, is to use notification actions to communicate with your code base. So for this demo, I've prepared a procedural animation to fade from black. The whole scene when the the intro sequence starts. But in order to trigger that animation to start, I need to send a notification to my code base. So I'll go over to the right under actions and I'll bring in a notification action.
Again, I need to choose a target, but for this notification the target doesn't really matter and I'll just choose the route of the scene. Done. And I'll set the start time at about two seconds so that the fade from black happens two seconds after the timeline animation starts.
But of course, if I press play now, we're not going to see that fade from black effect yet because our code isn't running. So we'll need to jump back into Xcode and press play. And we can see this running in the simulator.
So I'll jump back over to a project, the Xcode project.
So just to reiterate what we've done, we've added we've installed a tap gesture to our reality view. And we've also created a timeline sequence in Reality Composer Pro without any code.
So now if I press play project should build.
One moment. Let me close the the previous demo that's running.
Just so we aren't confused about what we're looking at.
Let me go back here. Press play.
There we go. Our scenes black. We're playing that intro sequence we just created inside Reality Composer Pro. Our characters Disappeared and. But she came back. And if we zoom in, in our character, let's test to see if we've installed our SwiftUI gestures correctly. And if I click around, there we go. So of course we can continue to refine and tune this this game mechanic to make it feel the way we want. But that's all I have for this demo today. Let's go back to the presentation and finish up from there.
So there's a lot more to petite asteroids. And you can find the complete project in all of these assets on the Apple Developer website.
You can build petite asteroids in Xcode and experience it for yourself on Vision Pro.
We've gone over a lot. So let's take a moment to recap.
We walk through how you can work with 3D assets to build spatial experiences. USD enables collaboration across large teams when working on your scenes, and lets you build up complex scenes from smaller pieces.
Reality Composer Pro is Apple's scene authoring tool for spatial content. Shader Graph and Timeline enable you to design your scenes without code.
Finally, we talked about how RealityKit's X framework makes all of this possible and how you can bring interactivity to your entities by taking advantage of SwiftUI gestures.
I want to leave you with one more piece of advice. Find us on the developer forums. Apple engineers, including myself, hang out on the forums answering questions about APIs and bugs. So please reach out to us during development with any questions you might have. Thank you.
-